1. General & Installation
Bloggy v.2 is fresh, simple and well rounded blogging theme. With it's laid back modern design and a beautiful typography this theme gives your content deserved spotlight and draws the readers right in. It is fully responsive and includes different page templates, post formats and a custom header image to expand the customizing options.
It is an easy to use theme with responsive layout that looks great on any device, big or small. It is compatible with Major Browsers, Smartphones and Tablet's.
Bloggy v.2 theme uses basic, core WordPress options (pages,post and widgets) to create user friendly site with a lot of useful features.
1.1 Getting Started
To install this theme you must have a working version of WordPress already installed. For information regarding the installation of the WordPress platform, please see the WordPress Codex - http://codex.wordpress.org/Installing_WordPress
1.2 Installation
When you are ready to install the theme, you must first upload the theme files and then activate the theme itself. The theme files can be uploaded in two ways:
- FTP Upload: Using your FTP program, upload the non-ziped theme folder "bloggy" into the /wp-content/themes/ folder on your server
- WordPress Upload: Navigate to Appearance > Add New > Upload. Go to browse, and select the ziped theme folder "bloggy.zip". Hit "Install Now" and the theme will be uploaded and installed.
Once the theme is uploaded, you need to activate it.
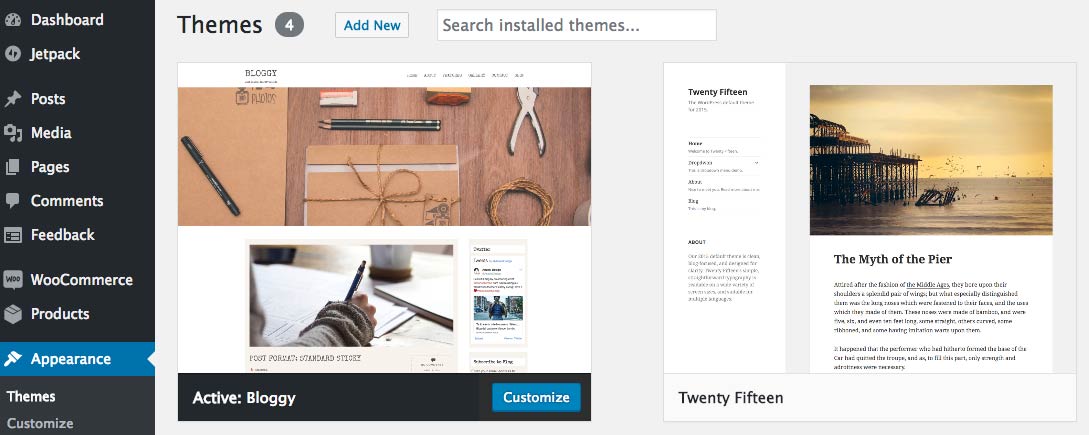
After activation, you should see the Bloggy v.2 Theme as an active theme:
1.4 Introducing WordPress Theme Customizer?
The Theme Customization screen (i.e. "Theme Customizer") allows site admins to tweak a theme's settings and see a preview of those changes in real time.
Bloggy v.2 has implemented this option and added some useful options to help you style the background, colors, upload image logo and to write copyright text on your own.
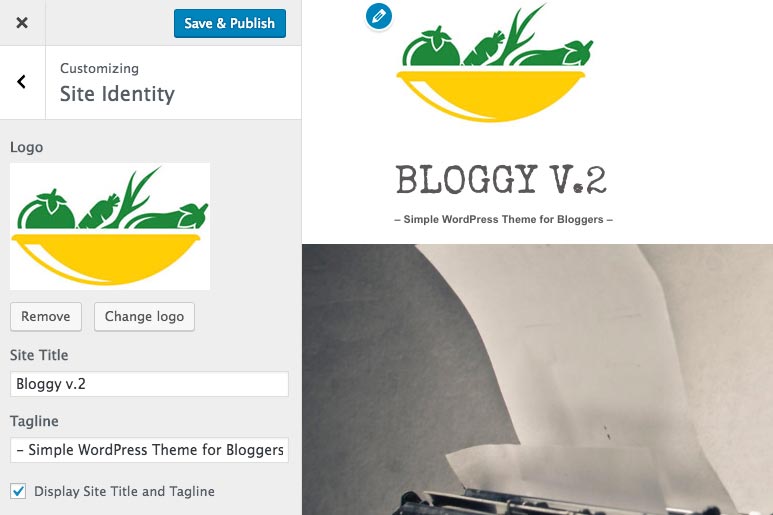
Navigate to Appearance > Customize
On the left side, you'll find Theme Customizer with all the options it contains.
OPTIONS:
1. Site identity
This gives you freedom to change the title,tagline and the logo for your site.
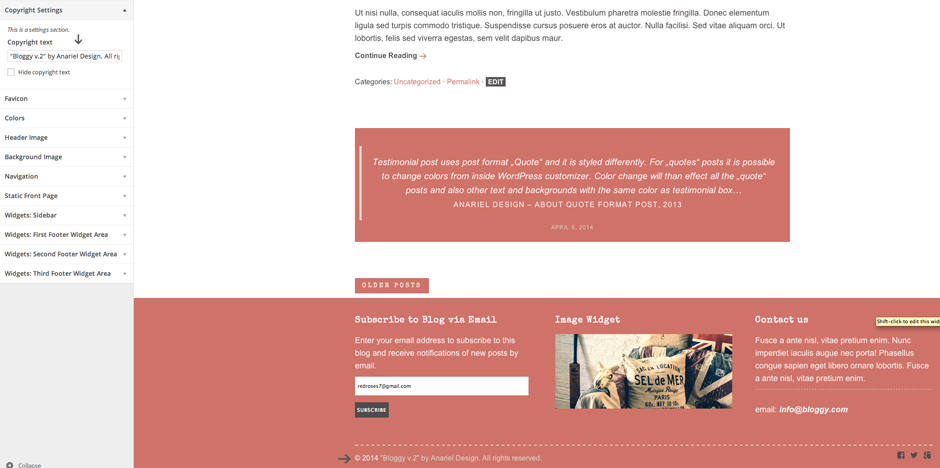
2. Copyright Settings
This gives you the option to change copyright text.
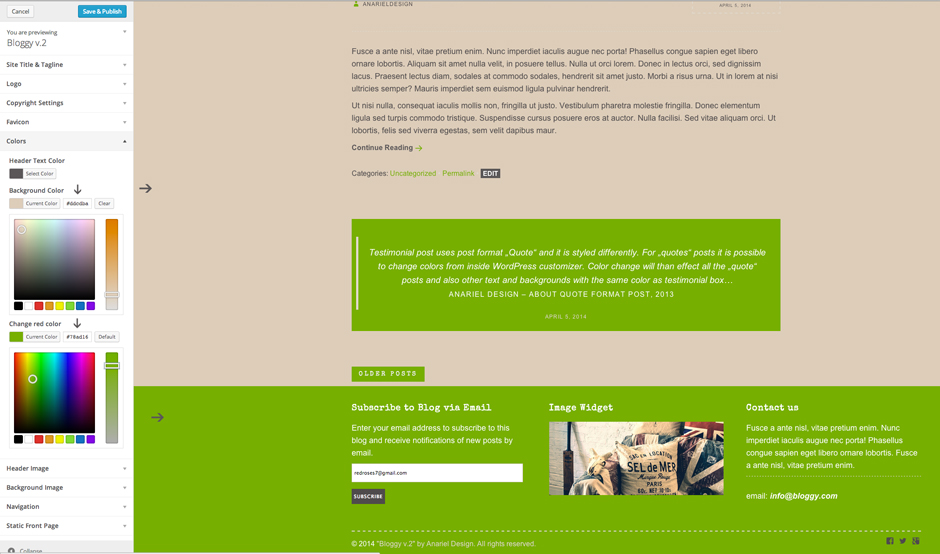
3. Colors
This gives you the option to change the color of the red color elements as well as background color.
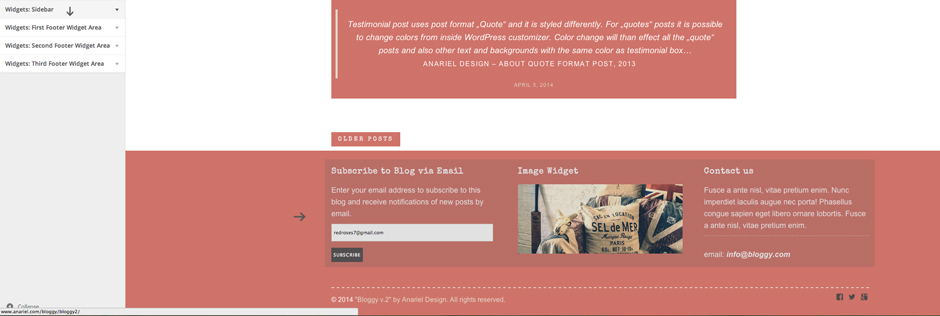
4. Widgets
This gives you the option to preview all available widgets on the page you are previewing and to add or change widgets inside available Widgetized Areas.
1.5 Plugins used with this theme:
1. Bloggy v2 features "Jetpack" plugin for WordPress that supercharge your website with features until now only available on WordPress.com. This plugin is used for the widget visibility, tiled gallery, contact form...
2. Soliloquy Slider with addons can be found inside the Plugins folder
3. WooCommerce: http://wordpress.org/plugins/woocommerce/ - used for shop page
6. Elementor: https://wordpress.org/plugins/elementor/> - Page Builder
Plugins mentioned above are not mandatory for theme to work.
1.6 Soliloquy Slider
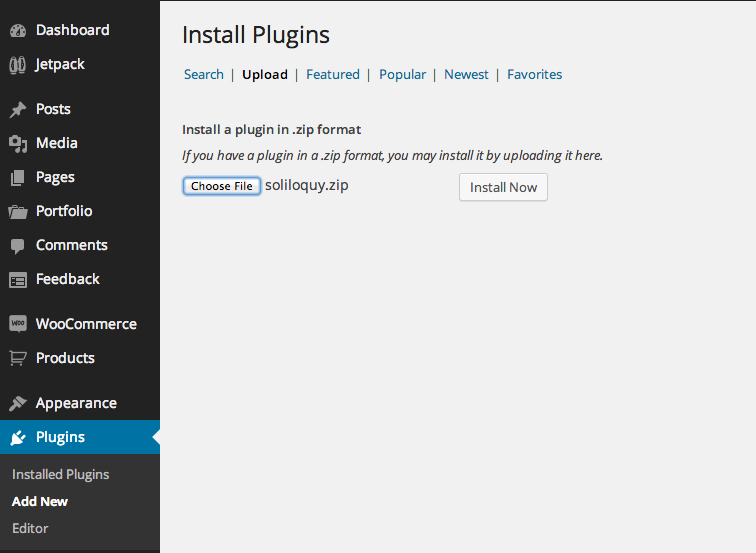
To install the slider navigate to the Plugins > Add new > Upload > Choose file
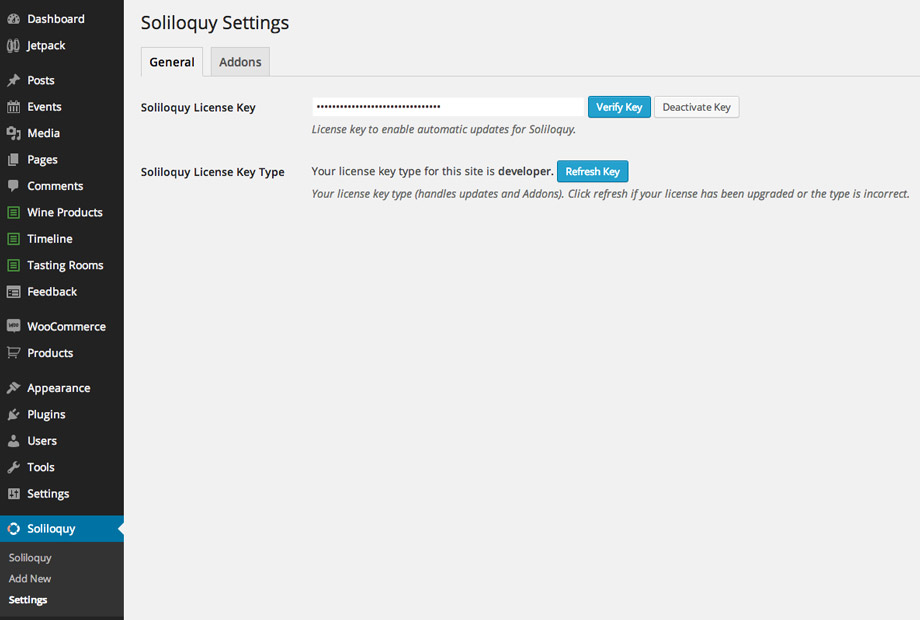
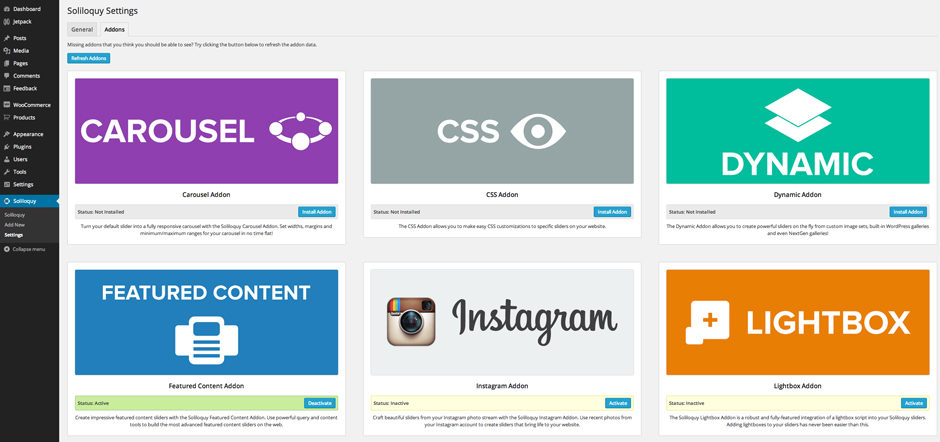
After you install the plugin you'll see the new menu "Soliloquy", verify your license key and than you'll get available addons for the installation. You can also install the add ons from the plugins folder:
Now you can install Soliloquy addons - "Soliloquy theme addons"
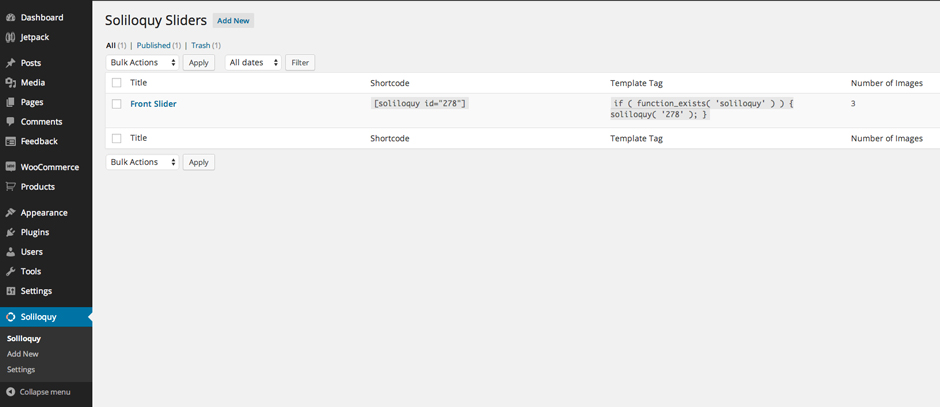
To create slider click on "Add New" option and name it. Now you can play and create your slider using many options and features that this great slider offers.
When you finish with creating your slider, navigate to the post, page or widget where you want to use your slider. Inside pages and posts, on the top of the edtior you`ll find "Soliloquy" slider button.
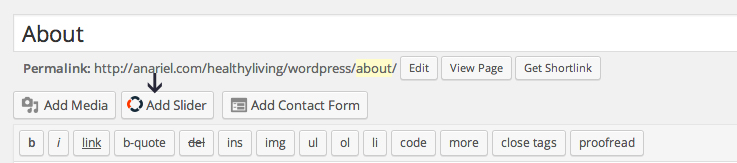
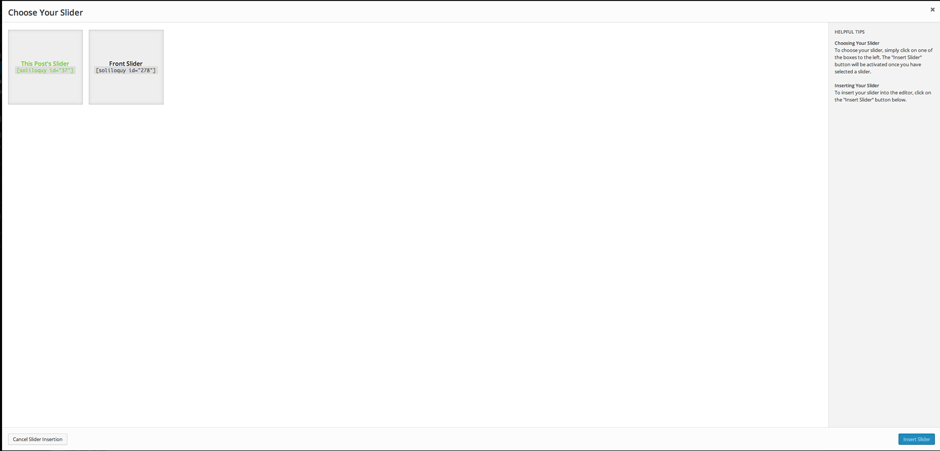
Click on the button to open the new window where you'll be able to choose created sliders to put inside the page or post:
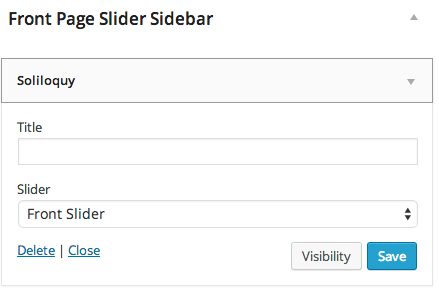
If you want to use the slider inside a widgets sidebar, navigate to Appearance > Widgets, there you'll find "Soliloquy" widget. Drag and drop widget inside one of the available sidebars and choose the slider you want to show :
1.7 How to start?
There are two ways to start building your site with this WordPress theme.
- Starting from scratch with your own content - to start from scratch we recommend following the documentation. Start with the front page, blog, header, menu and footer and then add inner pages.
- Replicate the demo site and then start from there - to replicate the demo follow the instructions for the demo content.
If you'd like to have a demo site set up on your server and you don't have time or will to do it yourself let us do it. We offer professional demo setup service for a small fee and quick turn-around time of max. 48 hours. More about this service you can find here: Professional Theme Demo Setup