Getting started
This document covers the installation, set up, and use of this theme, and provides answers and solutions to common problems. We encourage you to first read this document thoroughly if you are experiencing any difficulties before contacting our support team.
Theme Installation
Before you can start installing your theme you need to download it to your computer. To do that, simply log into your purchase account and from the download section download the theme.
To upload and install your theme via WordPress Dashboard, first log into your WordPress installation and go to “Appearance>>Themes”. There, click the “Add New” button at the top of the page and then click the “Upload Theme” button. Locate your theme's zip file (elephant.zip) on your computer and select “Install Now”. Once the theme is fully uploaded and installed, click “Activate” to activate the WordPress theme.
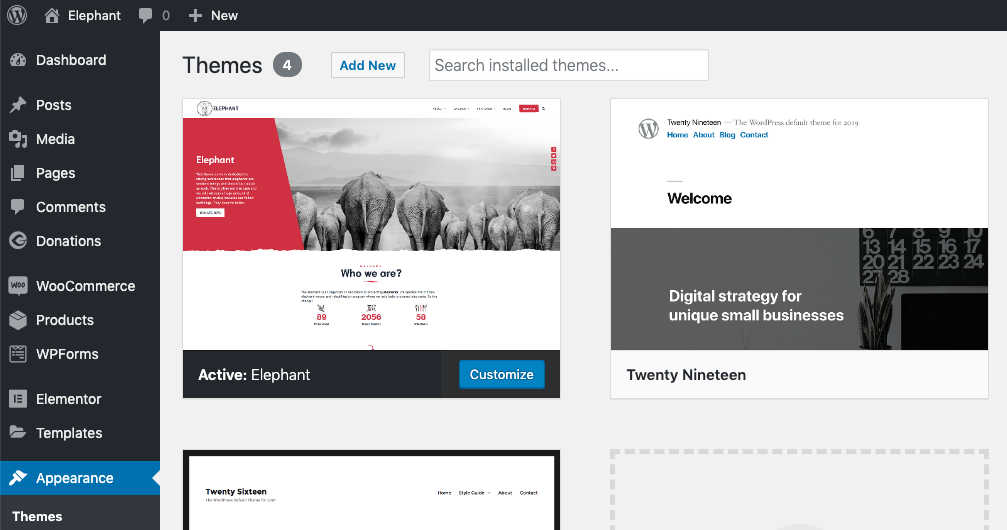
After activation, you should see Elephant Theme as an active theme:
Plugins
After theme activation, you'll see the notification bar at the top of the WordPress dashboard with a list of recommended plugins.

Plugins are not required for the theme to work. However, they bring functionality that your website might need. In the theme demo, e.g. we used these plugins to add contact form, shop and donation forms.
If you're not sure which plugins you'll need I'd recommend installing all of them. Once you get more insight of which plugins you'll require you can easily remove the ones that you don't need.
Below you can see how to easily install and activate all these plugins with just a few clicks.
How to start working with the theme?
Important: to be able to effectively use this theme, with all its features, it is required to have the latest WordPress version installed and the new editor enabled.
There are two ways to start building your site with this WordPress theme.
1. Replicating the demo website and then starting from there.
This method is especially practical if you have a new website, a clean WordPress install or you're new to WordPress. If you want to replicate the demo, skip the rest of this page and follow the instructions for the one-click demo import.
If you want us to set up a replica of the demo site on your WordPress installation you can request it via HelpDesk. More information about this service you can find here.
2. Starting from scratch with your own content
This method might be practical in case you already have a live website with lots of content and you're simply switching from a previous theme. Also if you're already experienced with WordPress and want to build your website page by page. With this method you won't be importing demo pages and posts, just reusable blocks that you then may use as needed.
To import reusable blocks continue reading below.
Reusable Blocks Import
This theme comes with a number of useful reusable blocks and templates that can help you create your pages faster. For example, by importing reusable blocks you'll be able to add a layout of almost any of the pages you see in the demo to any of your own pages. The whole demo content for that single page will be imported just by adding reusable block. You can then edit it and add your own content.
To easily import reusable blocks make sure to have the "One Click Demo Import" plugin installed. If you already installed the recommended plugins as advised above in the "Plugin" section then you're ready to import. If not, it's time to install it now.
Once you have that plugin installed head to the “Appearance >> Import Demo Data" and select the Blocks Only option.
To access these imported blocks in the WordPress editor navigate to a page and click on Add Block. Then go to the Reusable section. There you can see all the reusable blocks and even quickly preview the blocks by hovering over their names.
When you find the block you want to import just click on it and the whole preview will load in your editor. Then click the menu icon at the top of the block and select "Convert to Regular Block" to start editing and adding your content. A quick step-by-step walkthrough can be seen in the GIF below.
The Next Steps
There are, of course, many different ways one can approach building a website. However, the most common is to start with the Homepage. There are 2 types of Homepages in WordPress: static and dynamic.
Static homepage displays the content you added to the one specific page or widgets (like the homepage in the demo) while the dynamic automatically lists all your blog posts chronologically.
1. Static Homepage: the demo website of the "Elephant" theme features a static homepage. If you want your website to have a static homepage continue to the Homepage section of the documentation.
After setting up your homepage we recommend following the documentation in this order: Blog Page>>Header & Menu>>Inner Pages>>Body & Footer>>Customizer
2. Dynamic Homepage: by default in WordPress your posts are displayed chronologically on the homepage. If you also wish to have your homepage displaying your posts, continue to the Blog Page section.
After setting up the layout of your Blog Page we recommend following the documentation in this order:Inner Pages>>Header & Menu>>Body & Footer>>Customizer
If you'd like to have a replica of the demo site set up on your server and you don't have time or will to do it yourself, let us do it. We offer professional demo setup service for a small fee and quick turn-around time of max. 48 hours. More about this service you can find here: Professional Theme Demo Setup