Additional Features
Besides standard pages, Elephant theme supports a couple of pages that bring additional features to your website. These pages are:
To jump directly to the related guide click above.
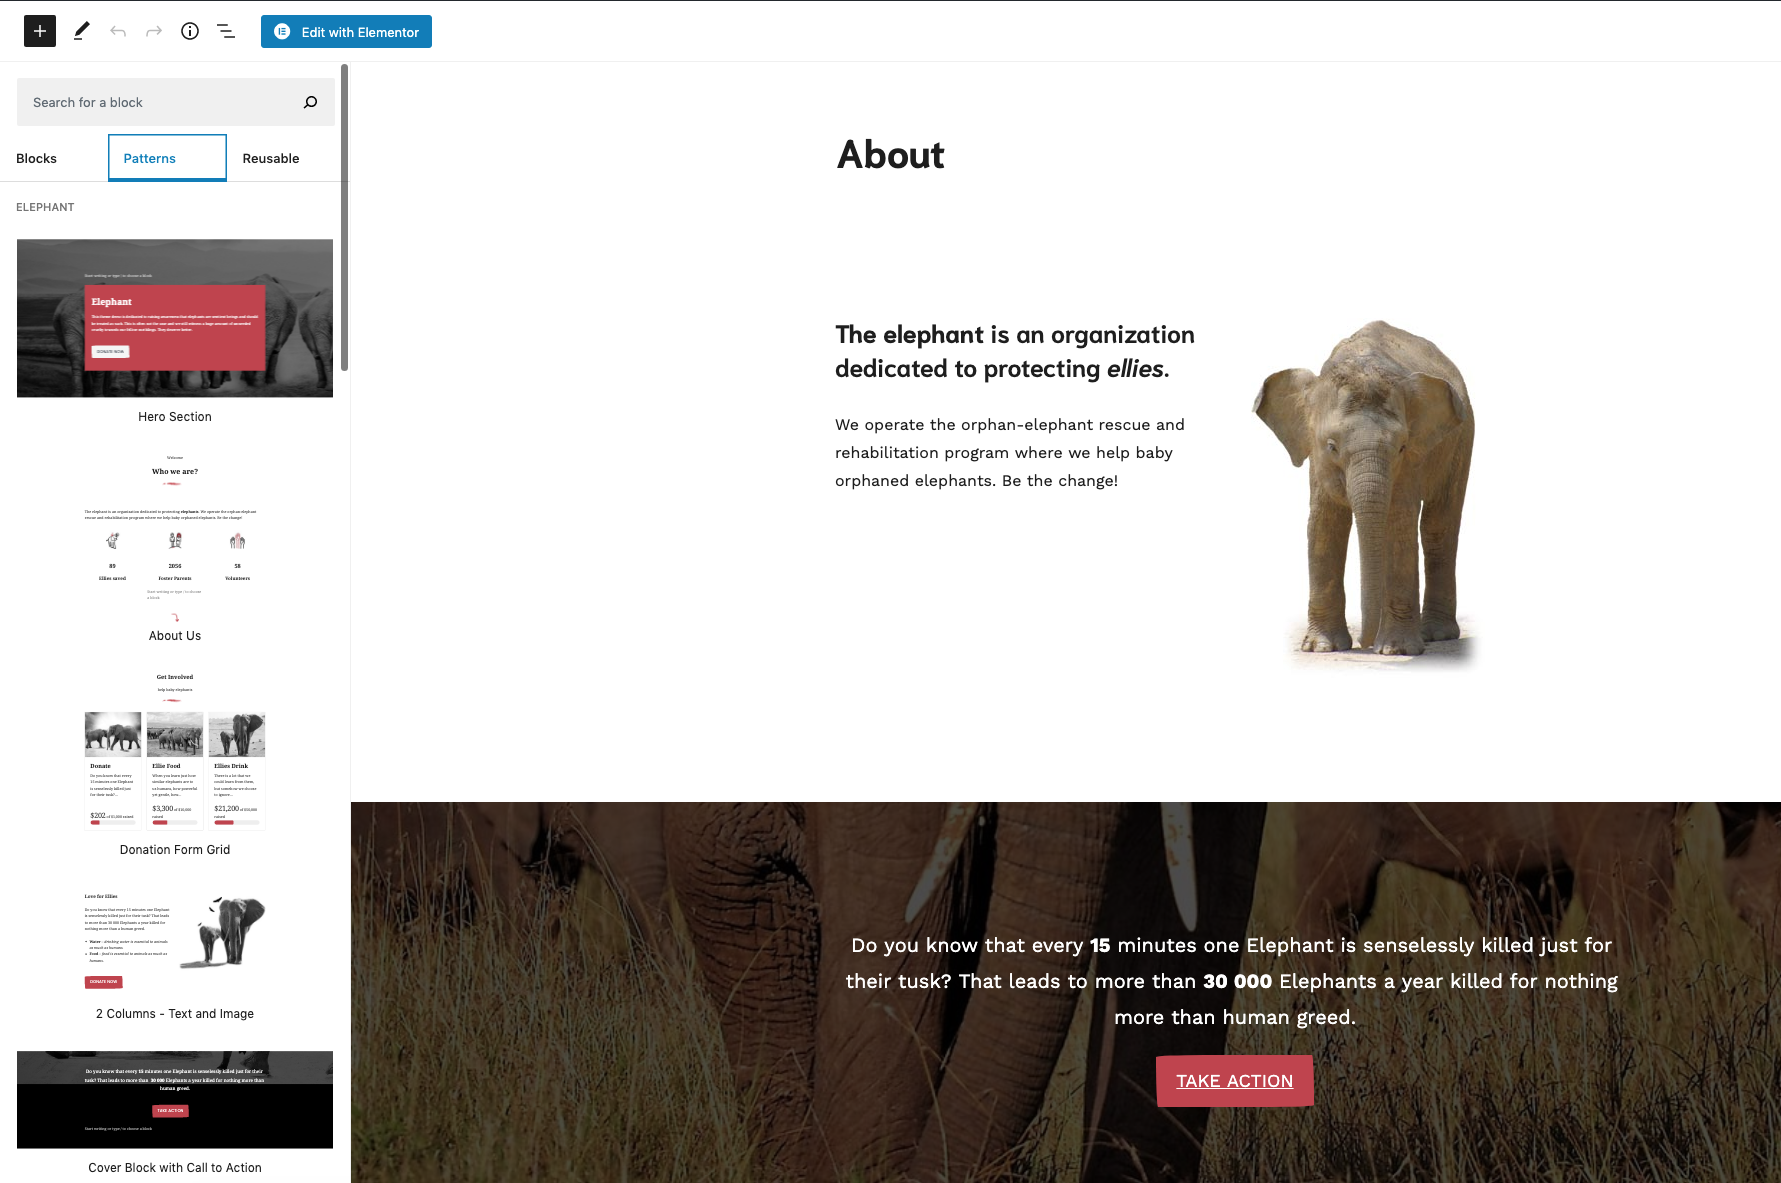
Patterns
A block pattern, is a group of blocks, that have been combined together, to create a layout element. Because they can be reused and placed anywhere, we created few block patterns to help you create different pages.
Elementor
Elementor is a 3rd party page builder plugin that can be used with this theme. As Elephant theme is built using standard WordPress features, a 3rd party page builder is not required. However, in case you need additional layout options that are not available within the theme then using a page builder plugin is a quick and effective solution.
If you want to use Elementor then now it is time to install it https://wordpress.org/plugins/elementor/.
**If you already installed all recommended plugins then Elementor is already installed.
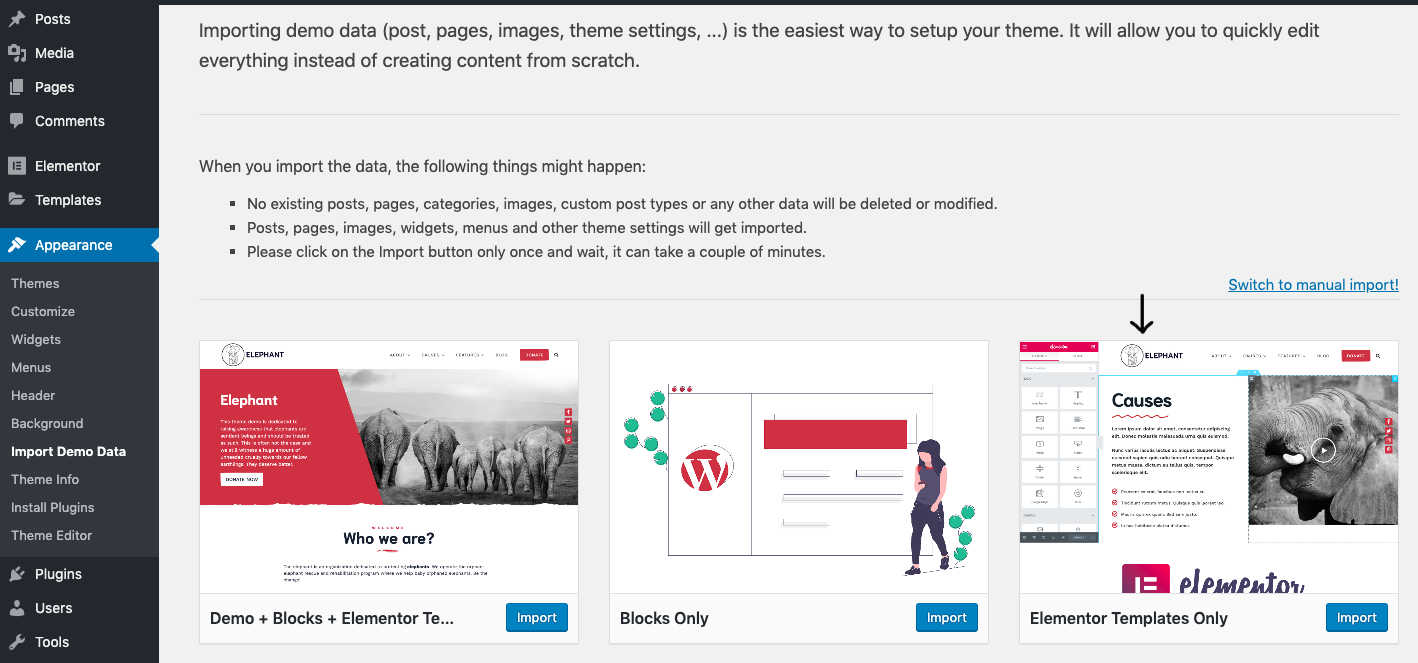
This theme comes with some useful elementor templates that can help you create your pages faster. We used them in theme demo for creating these pages:
To import Elementor Templates navigate to the Appearance >> Import Demo Data and choose Elementor Templates Only option.
**If you imported the demo content then these templates are already imported as well
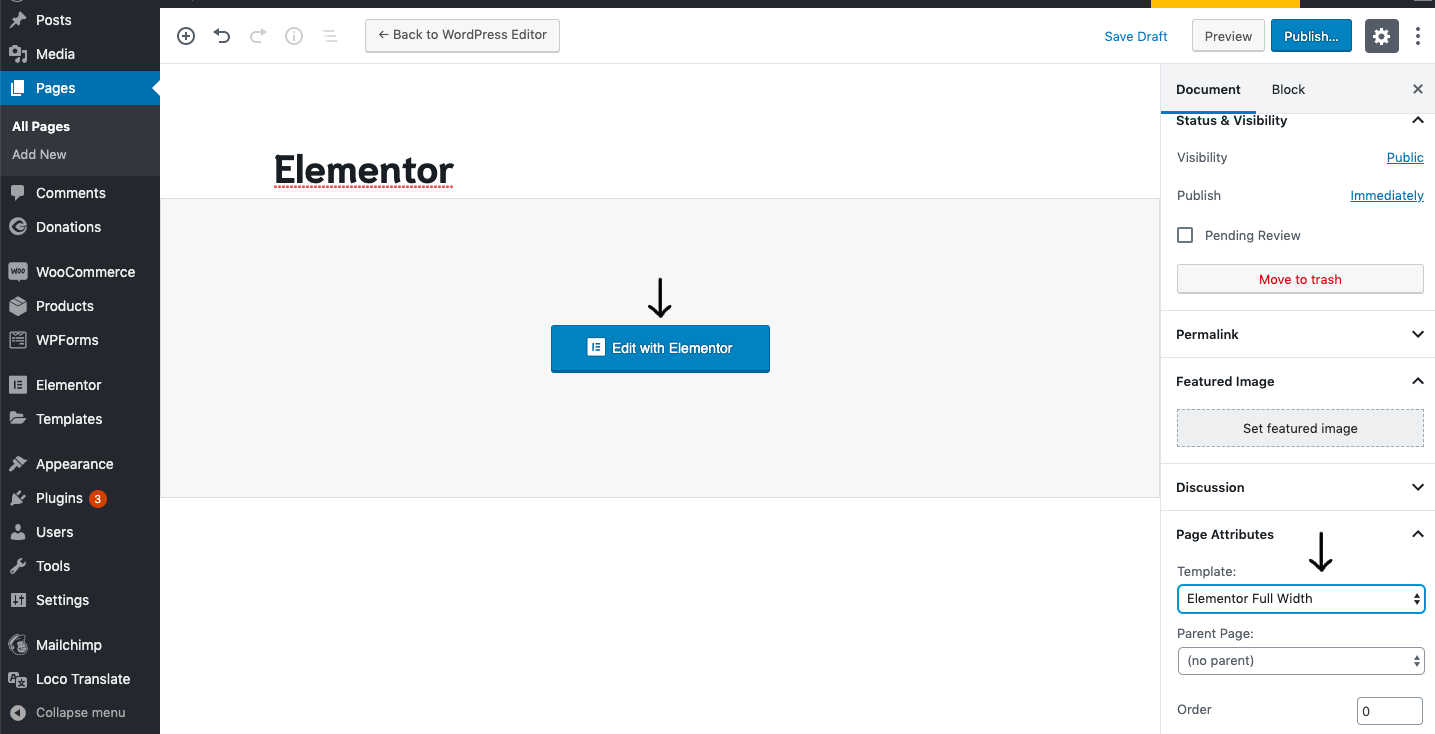
Now create a new page and from the Page Attributes>>Template choose the Template: Elementor Full Width
Next click on the blue button Edit with Elementor.
To access the imported templates click on the Folder icon and then on My Templates and select the one you want to insert.
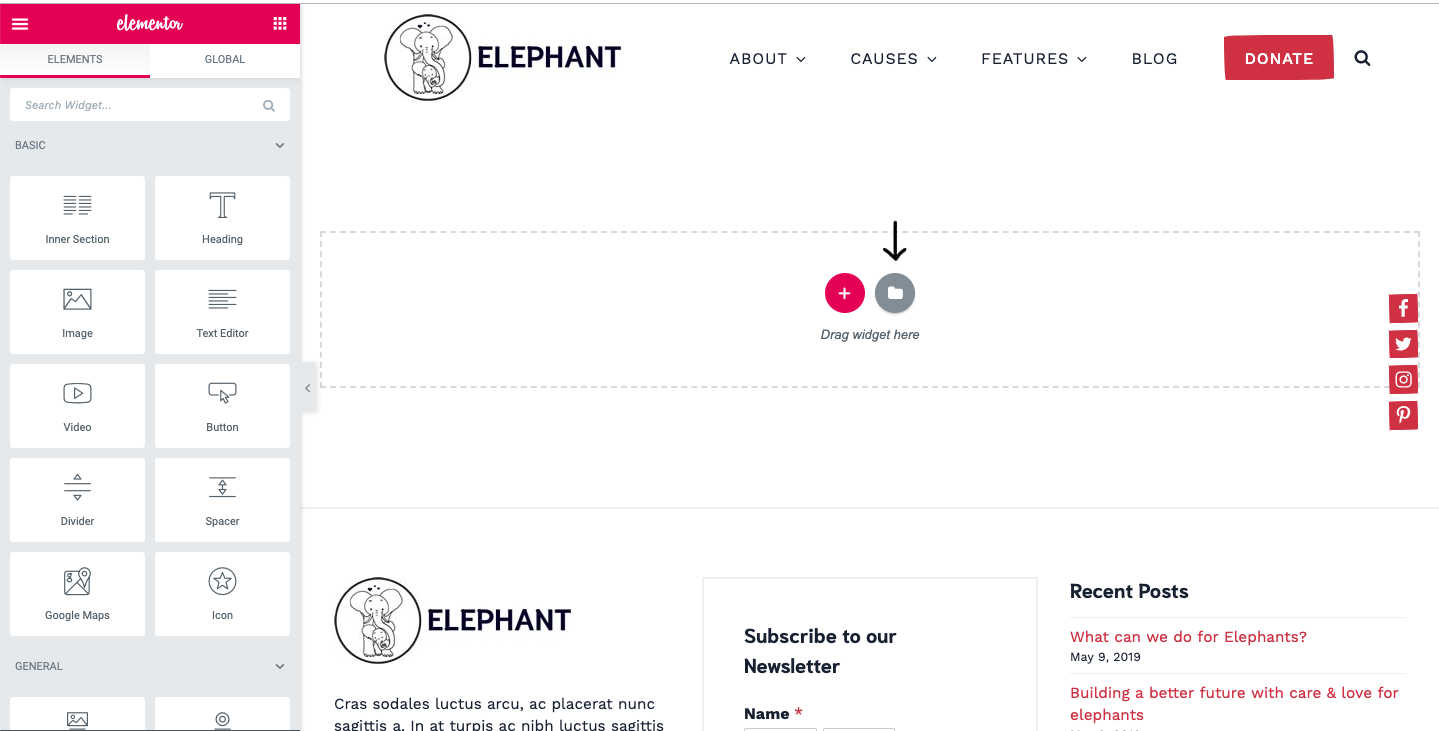
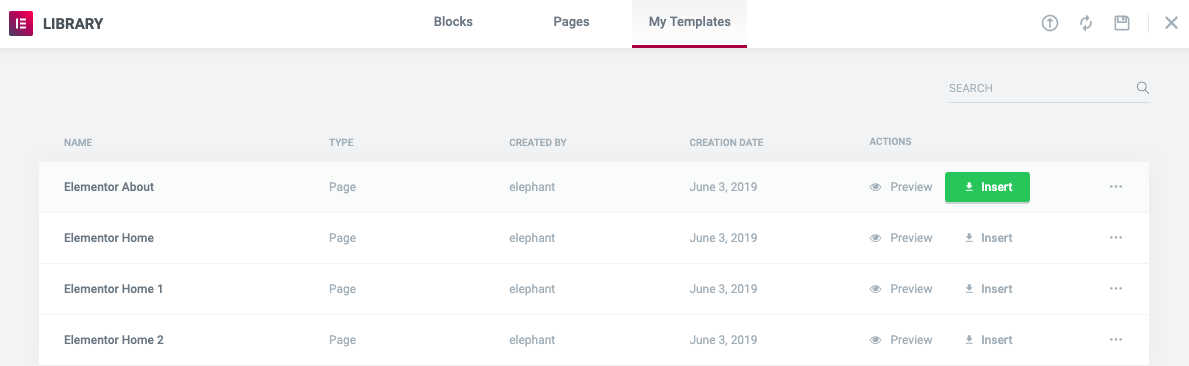
You can do this on as many pages as you want and then edit and add your own content. You can, of course, also use Elementor to build pages from scratch.
To learn more how to use Elementor please check their getting started page.
WooCommerce Shop
If you want to include a shop on your website then WooCommerce plugin is a quite good and popular option http://wordpress.org/plugins/woocommerce/. Elephant theme supports this plugin by including a built in styling for the plugin that makes its elements fit better with the rest of the theme.
To start creating your shop first install the WooCommerce plugin. If you installed the recommended plugins then the plugin is already installed and you can continue below.
As WooCommerce is a 3rd party plugin, in this documentation we will cover just the basics of how start using WooCommerce plugin. For more information about WooCommerce options, setting up payment gateways and more please check their documentation.
Creating a Shop Page
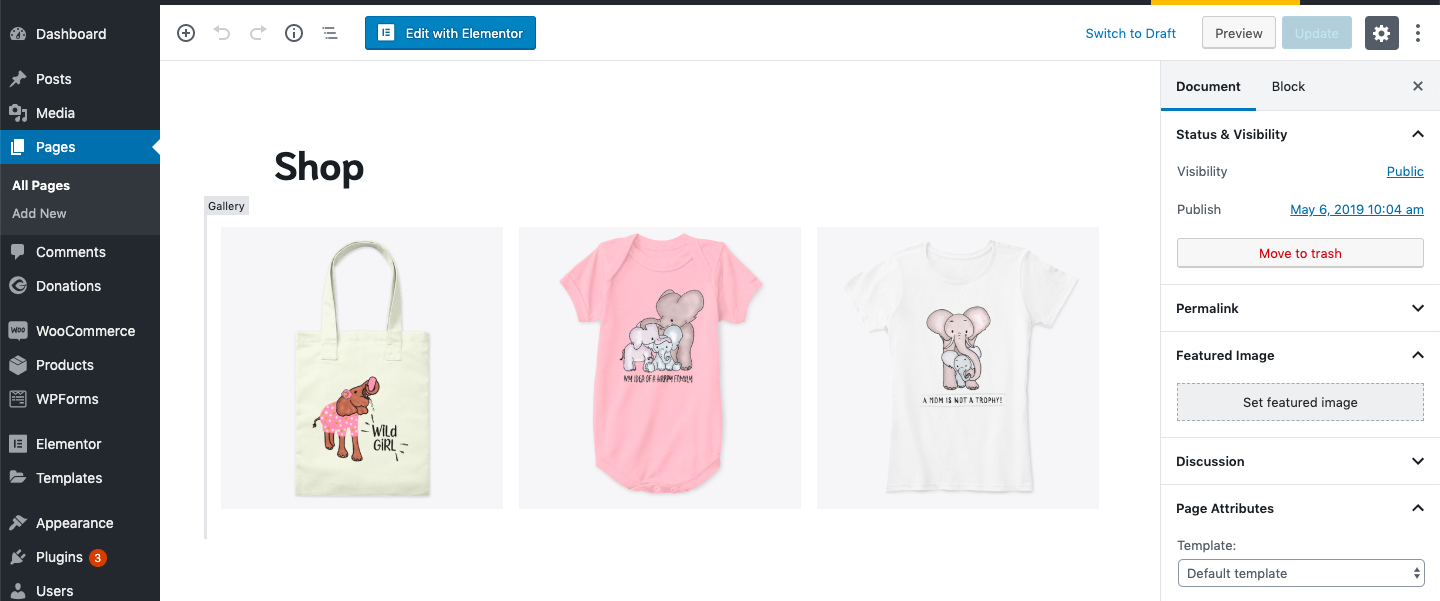
Once you installed the plugin, to create a shop page you need to go to Pages and there click Add New to create a new page. Give it a name (e.g. shop, store etc.) and publish it. Then go to WooCommerce>>Settings>>Products and there select the page you created from the Shop Page drop-down menu.
A. How to add products to the Shop Page?
As soon as you assign the page as shown above that page will automatically lists products that you add in the WooCommerce>>Products. If you haven't added any yet, now its time to do it.
**If you imported demo content then you'll already have a couple of demo products created.

Besides your products, on the shop page you can also add a bit of text or an image (like we did in the demo) or a slider by simply adding it to the editor of your shop page. This will then be displayed above the listed products.
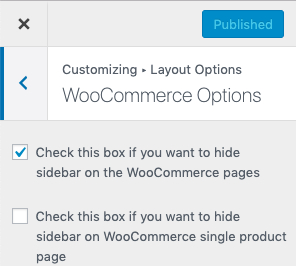
B. How to hide/show WooCommerce sidebar?
Navigate to the Appearance » Customize » Layout Options » WooCommerce Options and there you'll find options to hide sidebar on the main shop page and single product pages.
Give Donations Page
Before you can start setting up your donation page, you need to install the Give plugin: https://wordpress.org/plugins/give/.
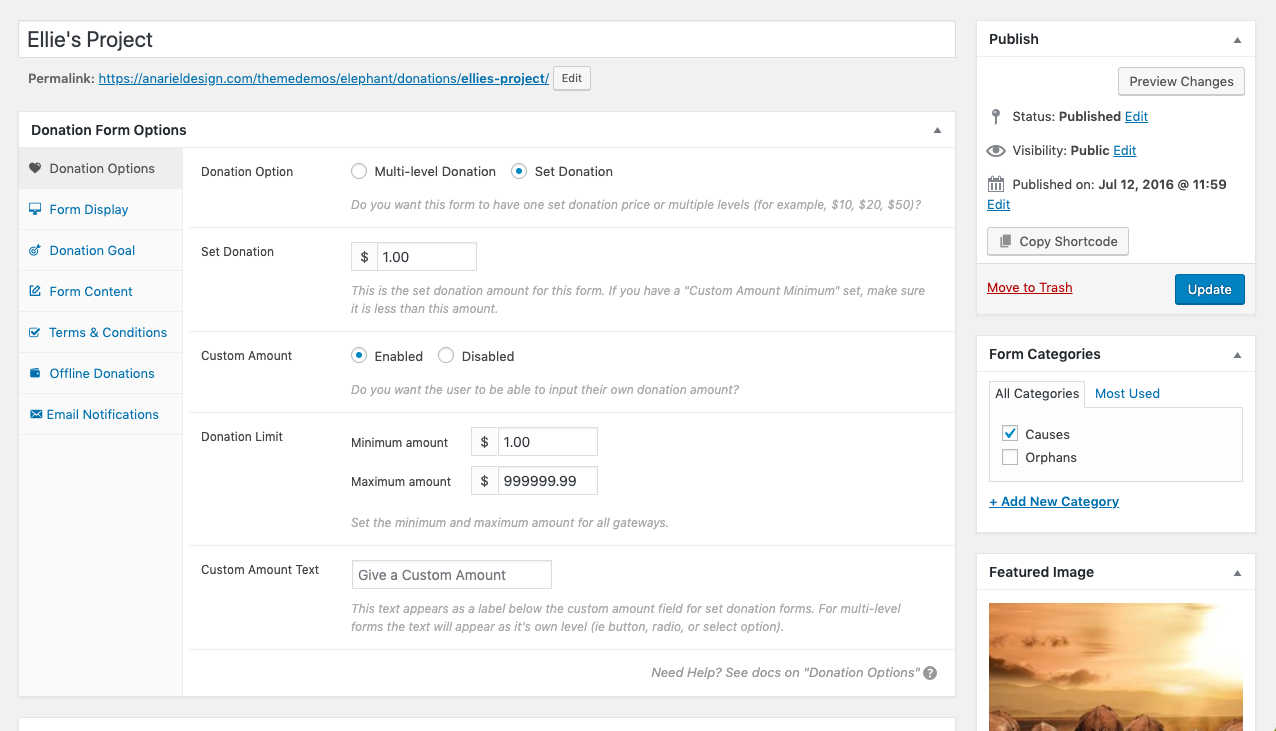
To create your first donation form head to "Donations" menu in your dashboard and select "Add Form". Once you name your form you can adjust form's appearance, goals and options to your liking from the "Donation Form Options" page.
When you create one or more donation forms you will see them listed in the "Donations" dashboard.
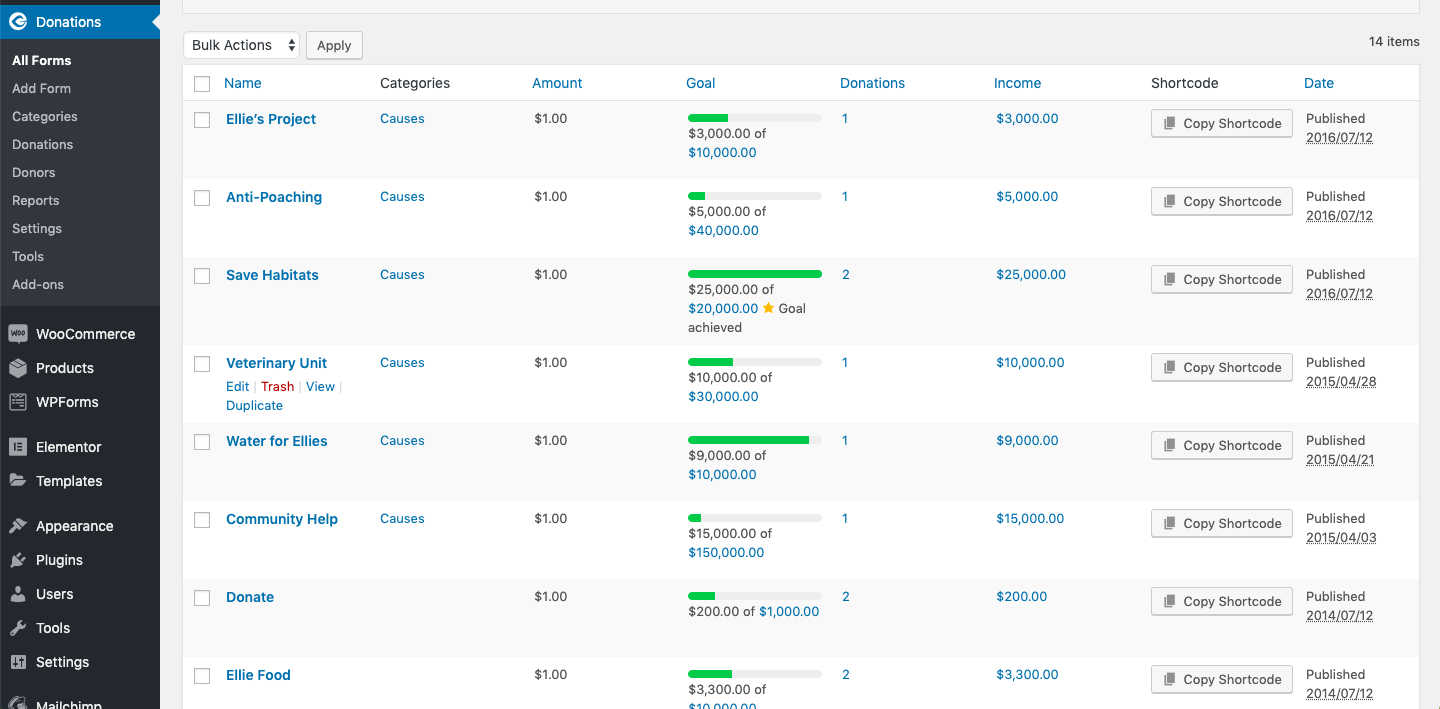
If you want to display text content and a progress bar for each donation form on your donations page you'll need to add content and goal shortcode inside the excerpt box like this:

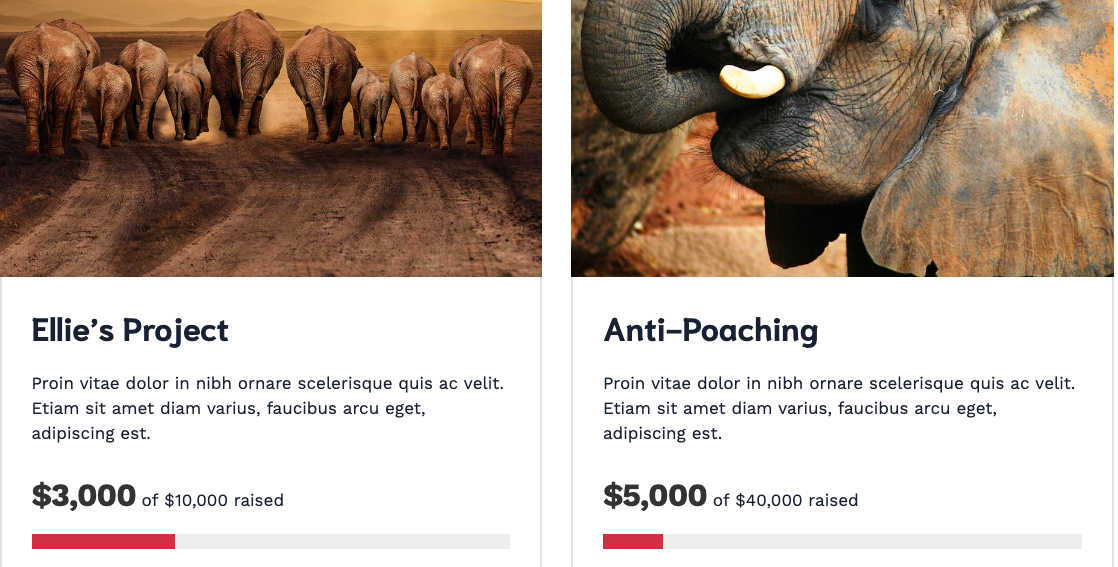
In the goal shortcode example [give_goal id="948" show_text="true" show_bar="true"] you have to add the id number of your own form.
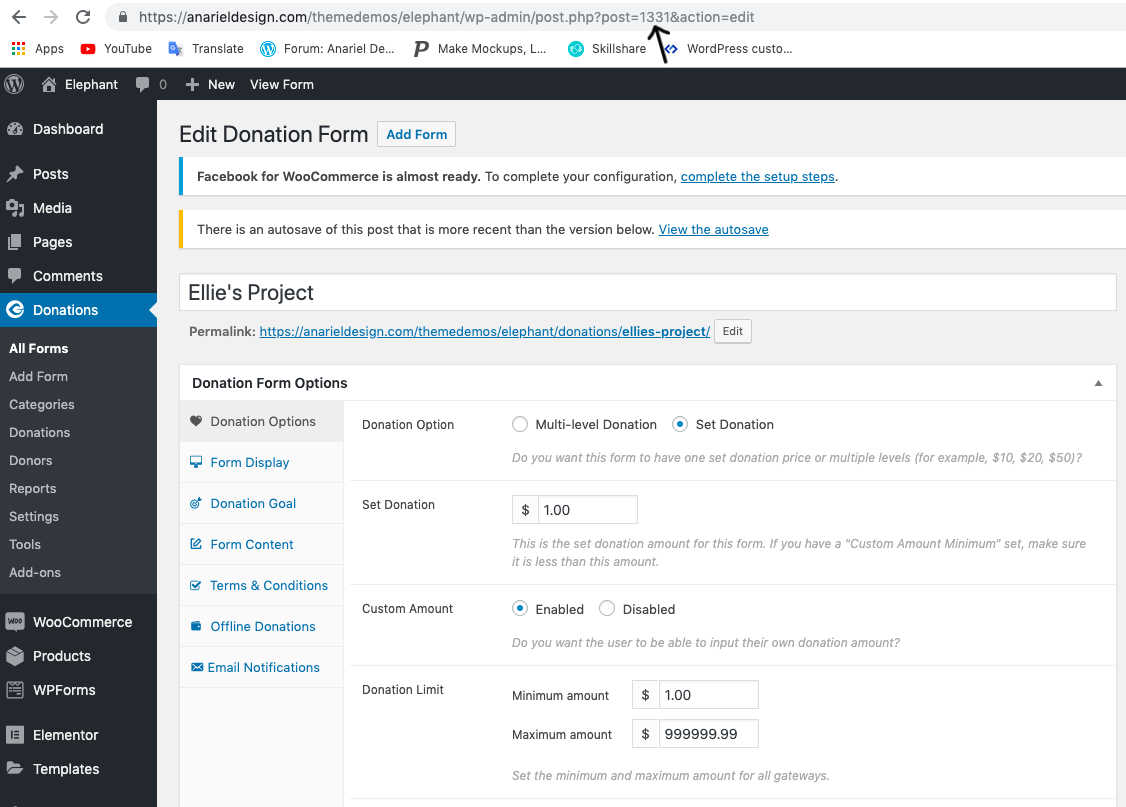
How to find form ID number?
To find the ID of your form navigate to the Donations » All Forms and open the form you want to display. When you open it, you'll find the number inside the URL field, like this:
How to display donation forms?
By default Give plugin displays all the available forms on the "/donations" page. Like in the demo example https://anarieldesign.com/themedemos/elephant/donations/
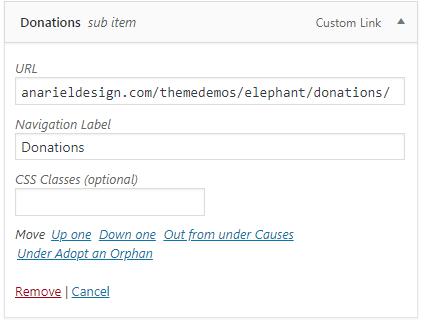
To add that page to your menu you simply need to go to "Customize>>Menus" and add "Custom Link" item to your main navigation menu. Then in its URL field add the URL of your website extended with the "/donations" tag and add the "Navigation Label".
Example: https://yourwebsite.com/donations/.
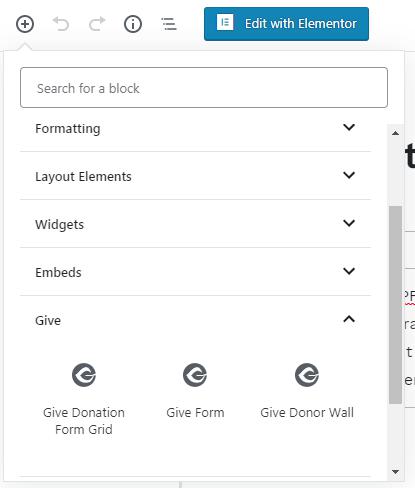
Of course, Give forms can also be added to any other page. To do that you need to go to the page where you want to add a donation form, click the "+" icon to add a new block and then from the "Give" section select what you want to add.
As Give plugin is a 3rd party plugin to find out more about its functionality and features I encourage you to check their official page here: https://givewp.com/.