11. Features
This theme supports and it is styled to support a few widely used plugins like WooCommerce, Give, Jetpack and The Events Calendar.
- Soliloquy Slider
- Contact Form 7
- Give-Donations
- WooCommerce Shop
- Page Builder
- The Events Calendar
- WPML
11.1 Slider

To install the slider navigate to the Plugins » Add New » Upload » Choose file and select "soliloquy.zip" from the plugins folder located in the main folder you downloaded and hit Install now button.

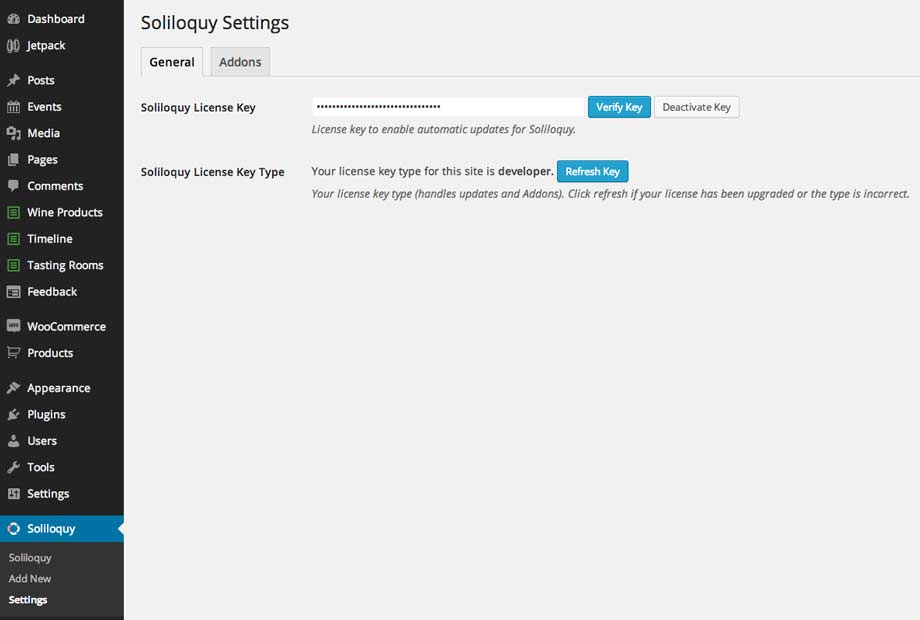
After you install and activate the plugin you'll see the new menu "Soliloquy" , verify your license key (included within the plugins folder), if there is a new slider update, update it before you continue and than you'll be able to install slider addons if needed.
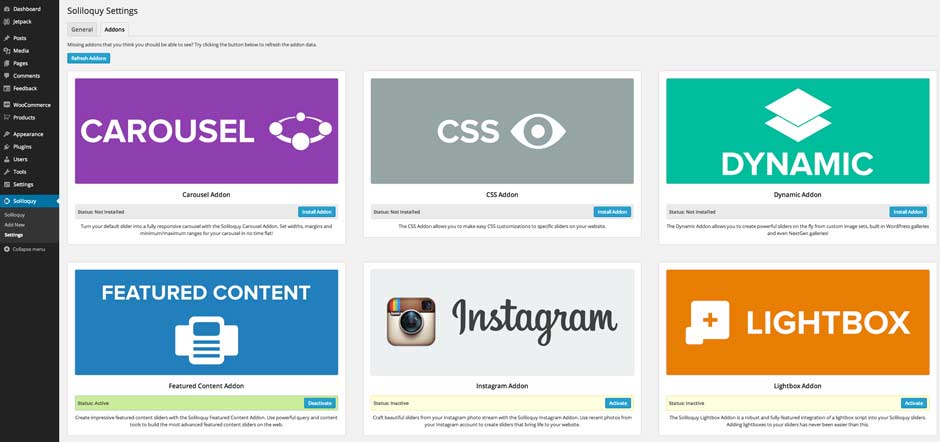
Themes addon is used in the demo.
If you don't see addons at first click on the "refresh button" and they will show up.
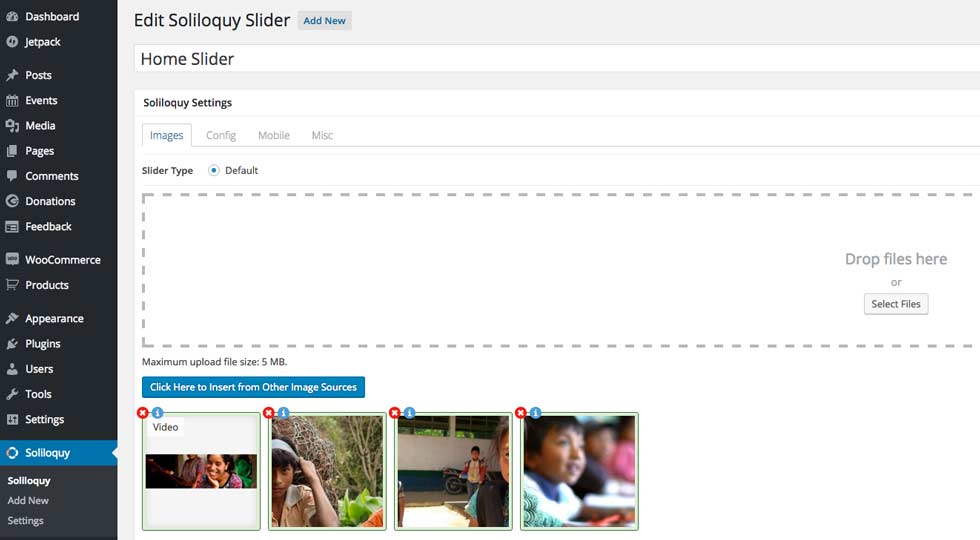
To create slider click on "Add New" and name it. Now you can play and create your slider using many options and features that this great slider offers.
First, upload your images. Image size we used in the demo slider is 2600x800px.
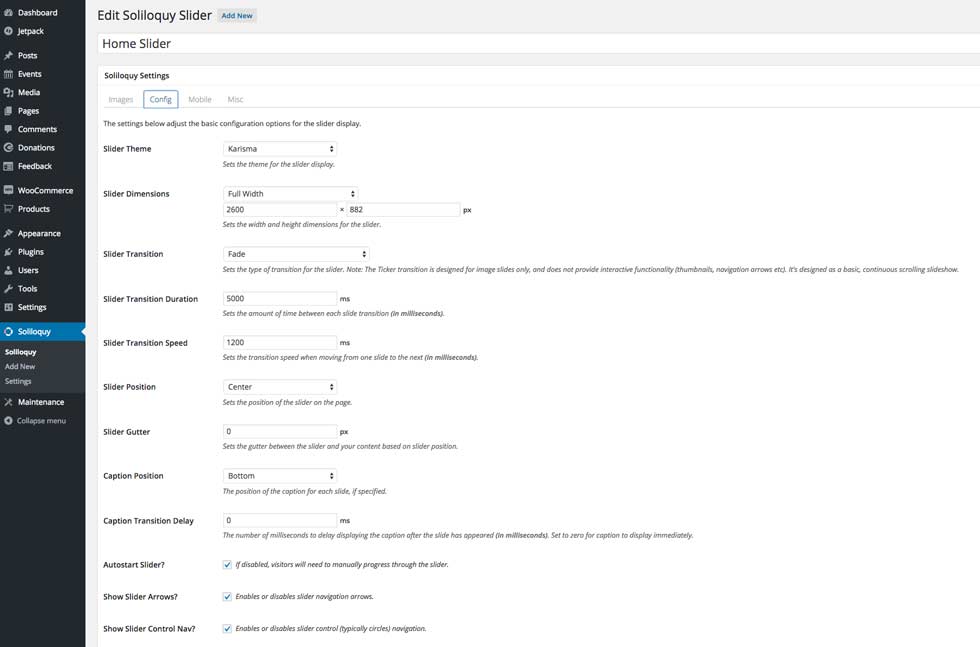
Once the images are added you might want to configure slider settings by navigating to Config.
The screenshot shows the config that is used in the demo.
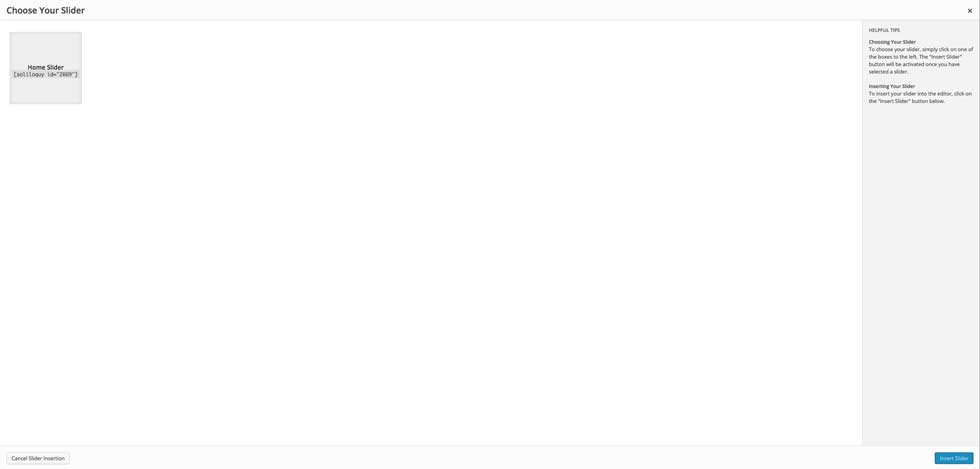
When you finish creating your slider, navigate to the page, post or widget where you want to use your slider. Inside pages and posts, on the top of the edtior you`ll find "Add Slider" button.
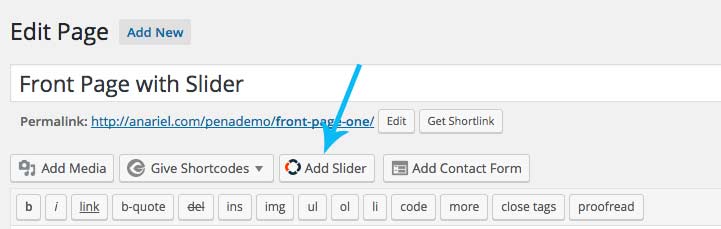
Click on the button to open the new window. There you'll be able to choose created sliders and put them inside a page or post:
If you want to use slider inside the widgets sidebar, navigate to Appearance » Widgets, there you'll find "Soliloquy" widget. Drag and drop widget to one of the available sidebars and choose the slider you want to display from the dropdown menu.
* Find more about this awesome slider here: http://soliloquywp.com/. License is included inside the plugins folder for the full premium slider plugin. If you'd need direct support from the author of the plugin you'll need to purchase your own license.
11.2. Contact
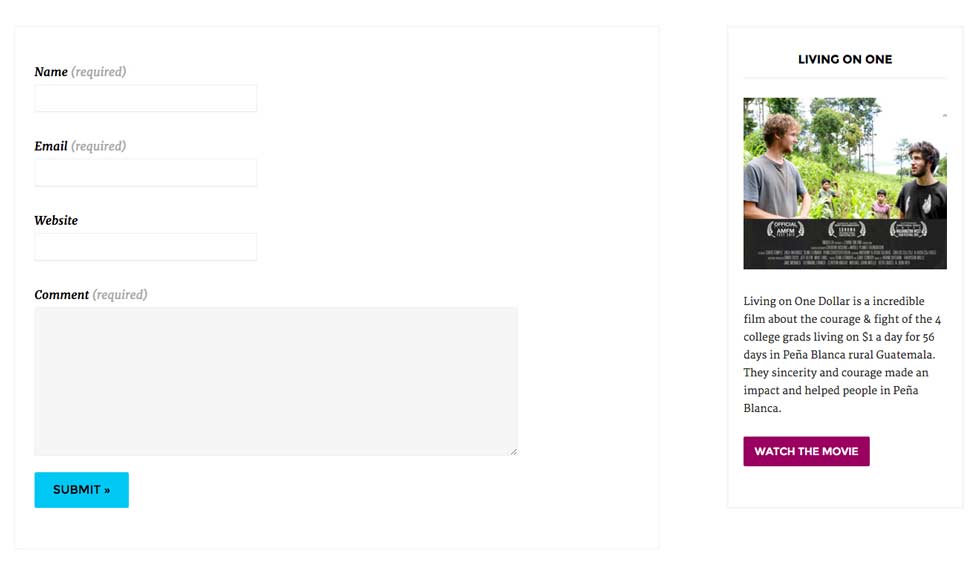
Navigate to Pages and create a new page named "Contact" or whatever you want to call it. Contact page uses Default Template from the Page Attributes.
To add a contact form you first need a plugin that offers this functionality. In the demo we used Contact Form 7 plugin with enabled Contact Form 7 feature.
11.3 Give
Before you start with setting up your donation page, you need to install Give plugin: https://wordpress.org/plugins/give/.
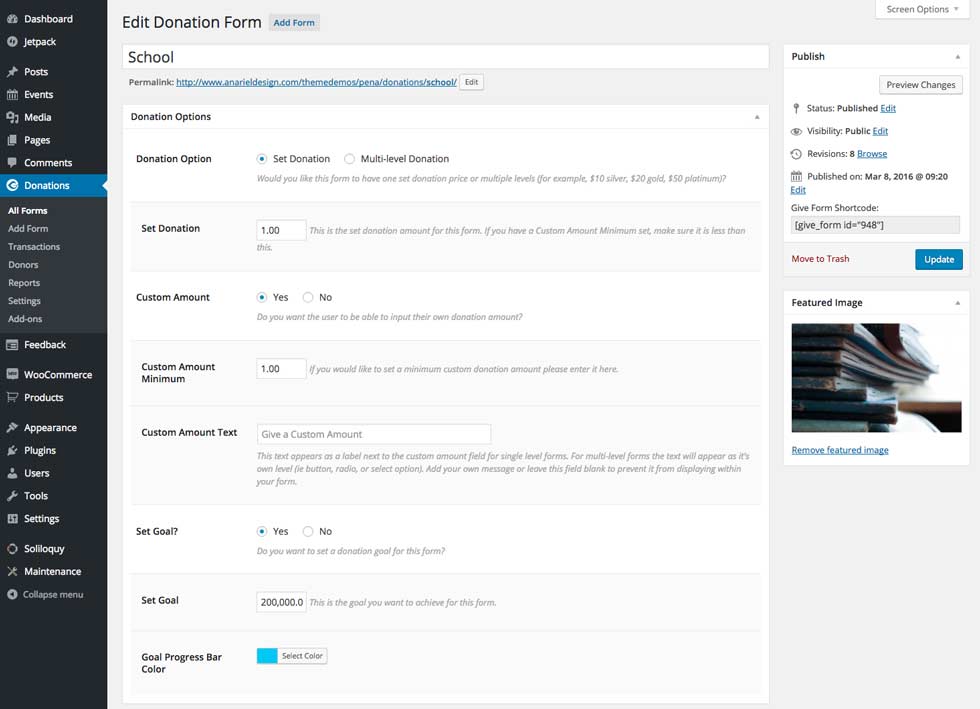
To set up your Give plugin, forms etc., please read more here: https://givewp.com/. Give has numerous shortcodes you'll be able to add inside the editor.
Give plugin in action: http://www.anarieldesign.com/themedemos/pena/give-donate/
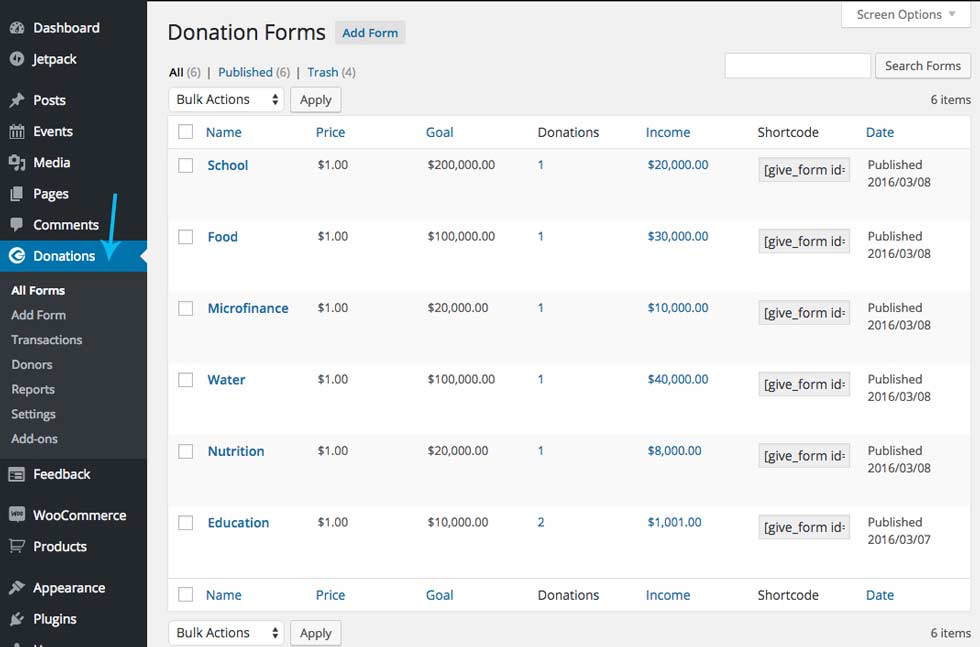
Inside the "Donations" create your own donation forms wich will be desplayed on your donations page.
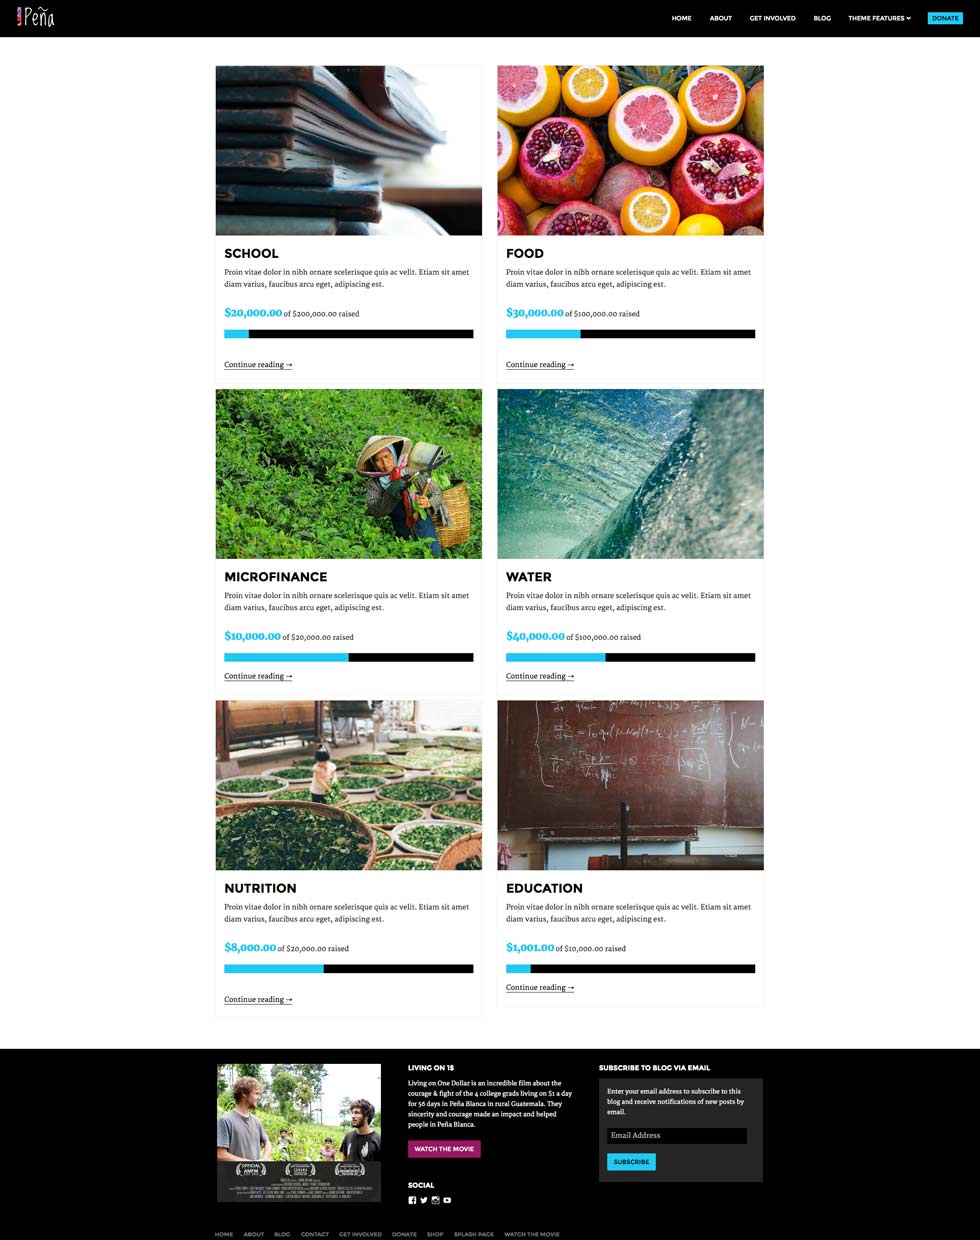
11.3.1 Forms Content on the Donations Page
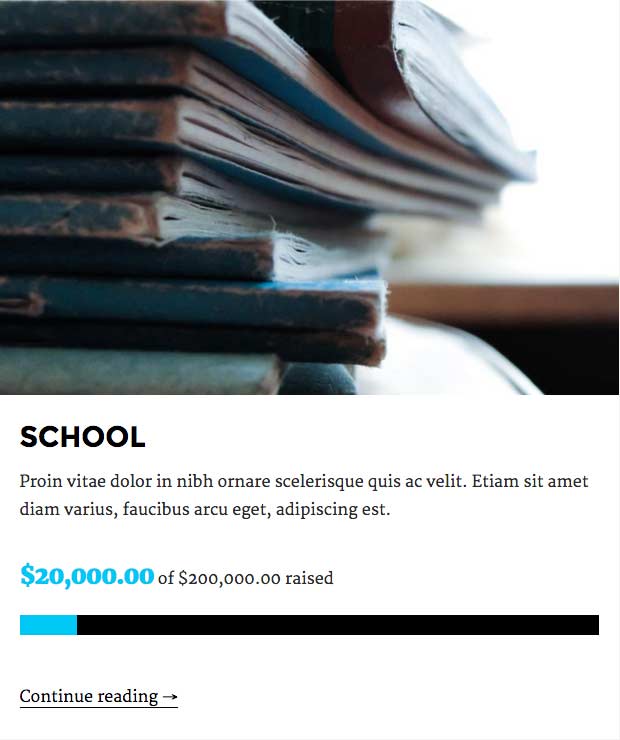
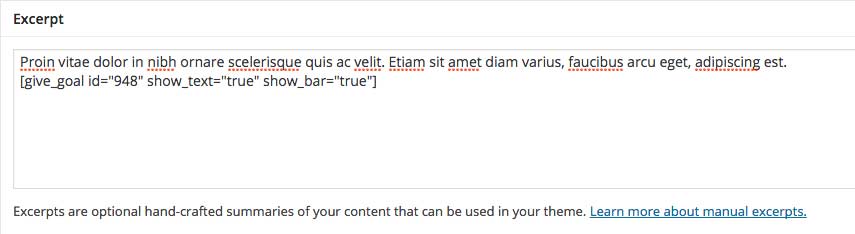
If you want to show some content and a goal for each donation form on the donations page you'll need to add content and goal shortcode inside the excerpt like this:
Change shortcode id number with your own form id number.
11.4 WooCommerce Shop
Before you start with setting up your shop site, you need to install the WooCommerce plugin: http://wordpress.org/plugins/woocommerce/.
As this isn't a WooCommerce theme, but a theme that supports and is visually styled to fit the plugin we will not explain how WooCommerce plugin works. More about setting up your shop and using WooCommerce plugin, please read here: http://www.woothemes.com/woocommerce/
To assign a page to be your shop page you first need to create a standard page by going to "Pages->Add New". Then in the "WooCommerce->Settings->Products->Display" select the page you created to be your shop page.
Navigate to Pages > Shop. From the Page Attributes choose "WooCommerce Shop Template" and click "Publish".
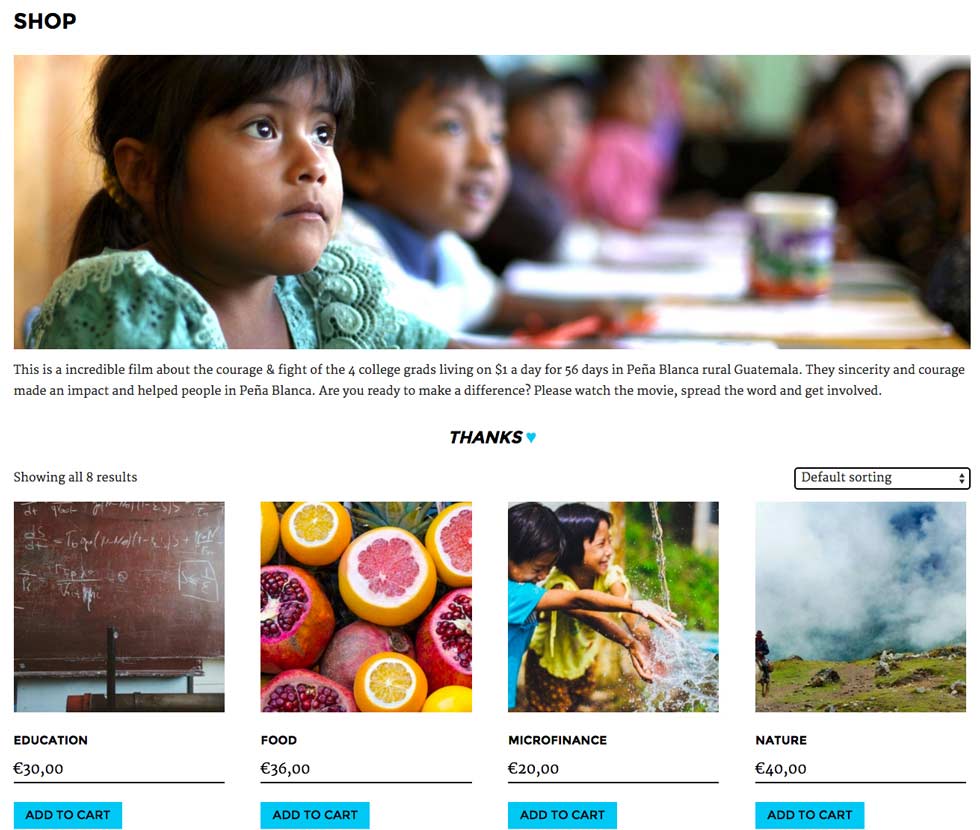
A. How to add content to the Shop Page?
You can add an image (like we did in the demo), slider or some content inside the editor. This will be displayed above the listed products.
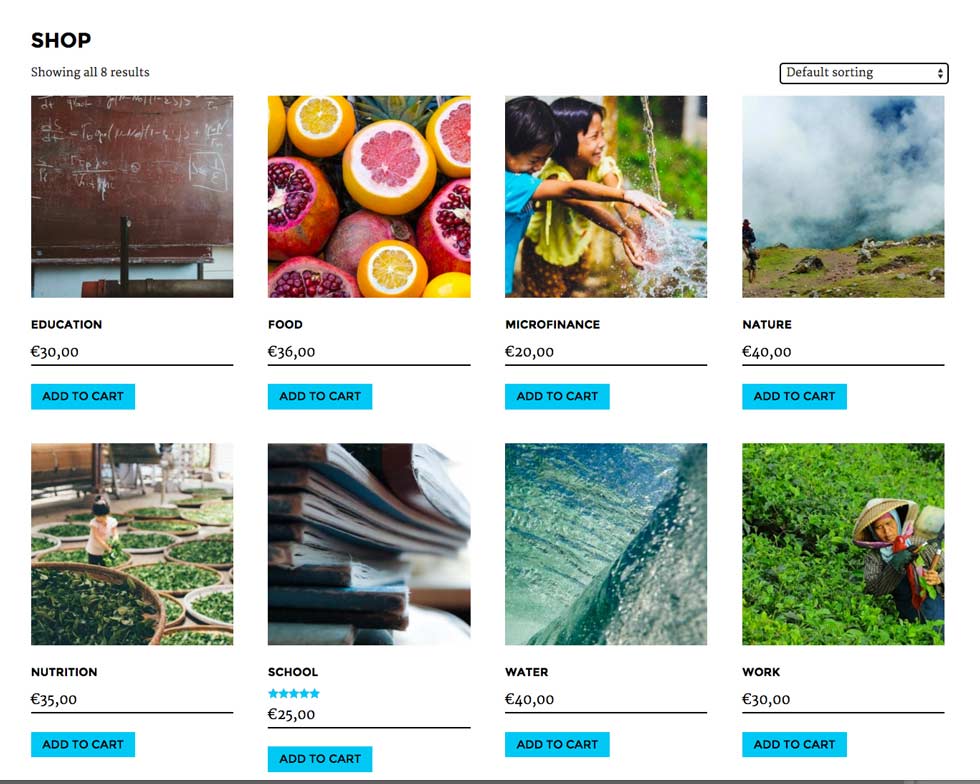
Shop page automatically lists products that you add inside the WooCommerce - Products

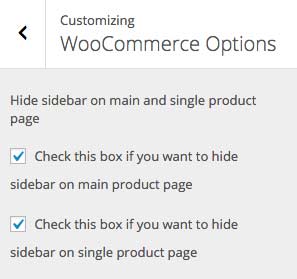
B. How to hide the sidebar?
Navigate to the Appearance » Customize » WooCommerce Options where you have options to hide sidebar on the main and single products page.
11.5 The Events Calendar
Before you start with setting up your events page, you need to install The Events Calendar plugin: http://wordpress.org/plugins/the-events-calendar.
About setting up your events and using The Events Calendar plugin, please read more here: http://wordpress.org/plugins/the-events-calendar.
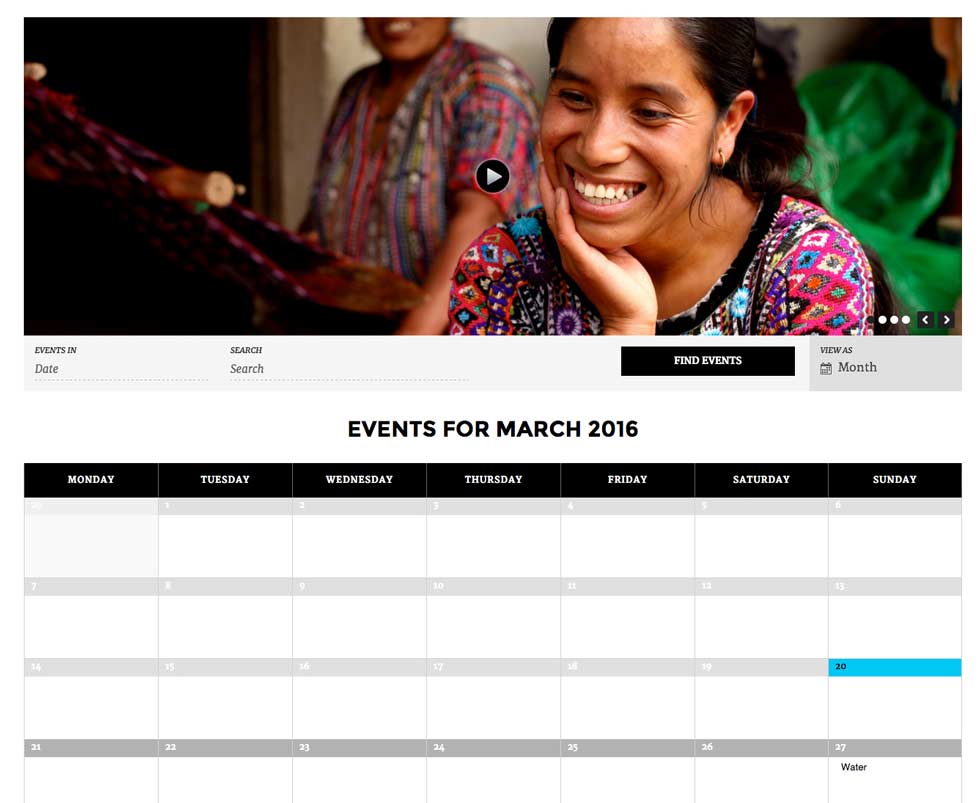
a) Events Settings - Display
In the theme demo we used:
- Tribe Events Style
- Default Events Template
- Default View: Month
- and inside the Advanced Template Settings we added a slider.
11.6 WPML
To get started, you will need WPML and add-on Plugins i.e. the core WPML Multilingual CMS, which is always required, and the String translations add-on. Information on installing & activating WPML is available on the WPML getting started guide.
A) How to set and translate main features of the theme
Using translation management http://wpml.org/documentation/translating-your-contents/using-the-translation-editor/
Translation Management & Features – http://wpml.org/documentation/translating-your-contents/using-the-translation-editor/translation-management-features/
Translating URL slugs – http://wpml.org/documentation/getting-started-guide/translating-page-slugs/
B) An example of how you can translate strings coming from the theme
How to scan strings coming from the theme – http://wpml.org/documentation/getting-started-guide/theme-localization/
How to translate strings using String Translation – http://wpml.org/documentation/getting-started-guide/string-translation/
C) If adjustment is needed for WPML language switcher please also add this
http://wpml.org/documentation/getting-started-guide/language-setup/custom-language-switcher/