If you are a website owner, there is a very good chance your website runs on WordPress. From major companies to small businesses, WordPress is often seen as the perfect solution for all kinds of businesses.
There are many reasons for this. Firstly, WordPress is open source. It has a large community of developers online that are actively offering solutions to website owners. This is not to mention the imperious library of WordPress themes and plugins available for WordPress users.
WordPress is dependable and highly customizable. You can build responsive websites for all kinds of devices with WordPress as your CMS.
With the advent of app builders, you can also turn your WordPress website into a mobile app.
There is no shortage of website owners who’ve considered app development at some point. The high price point however usually becomes a major turn-off.
App makers, especially those synced with WordPress, are a simple solution for website owners who wish to launch their own mobile app. In this article, we lay out the process of building an app using a WordPress website.
Step 1: Choose a WordPress app builder
There are many app builders in the market, but not all of them are designed specifically for WordPress.
If you have a WordPress website, the easiest way to build an app is to import your site data to a native app. This is why it is crucial to find an app builder that’s designed to build apps for WordPress websites.
AppMySite is an example of a reliable solution to building apps using WordPress websites. A tool like this simply syncs all your website data to the app. This way, you don’t need separate dashboards to manage all your content. Any change in your website content is reflected automatically in the app.
We’ll cover how the connection is actually established in step three.
Step 2: Design your app’s crucial assets and screens

Once you have chosen an app builder, the next obvious step is setting up an account. After finishing these preliminary steps, you can get started with app building.
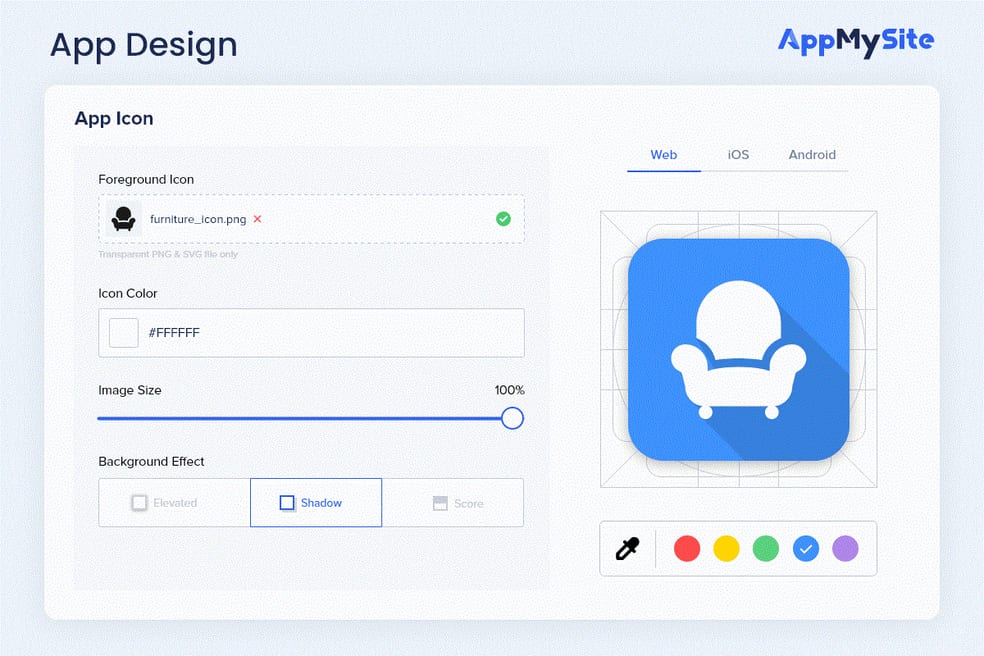
Usually, the first step while creating an app with an app builder is design and appearance. AppMySite is the same in this regard. Your first starting point is designing crucial app assets and screens like the app icon, launch screen, login & signup screens, and the home screen.
As an example, here are the sections covered in the Appearance module of AppMySite:
- App icon: This icon will be reflected when on the devices of your app users. There are options to design the logo within AppMySIte or upload artwork from your device.
- Launch screen: The launch screen is the intermediate loading screen that appears when an app is launched. You can design it on the app builder or upload your own design for it. Additionally, you can use the stock library on the platform.
- Login & sign-up: Designing the login and sign-up screens is similar to the launch screen. You can use existing options to design these onboarding screens or upload your own artwork. There are additional options to manage the colors of your fields, button texts, and more.
- Color theme: Choose a color for your app header and button. The colors you choose here will be reflected on all native screens of the app.
- Home screen: There are a lot of options when it comes to designing your home screen. You can design each section, choose section colors, manage section arrangement, show pages, and more.
Step 3: Connect your WordPress site to your app

WordPress app builders are unique because they allow you to sync your website data to the app. To make this happen, you first need to connect your website and app.
There are different ways you can establish connectivity between your website and app. On AppMySite, the best way to establish connectivity is through Application Passwords. The following steps provide a brief overview of the process:
- First, install and activate the AppMySite plugin on your website. You can download the plugin within your WordPress backend’s plugin section for free.
- In your WordPress website’s backend, navigate to the Users module. You’ll be able to find this in the left panel menu.
- On the Edit Profile page, scroll down to the Application Passwords section.
- Enter a password name and generate your password. Now, copy it and return to your AppMySite account.
- In your AppMySite account, go to the Install plugin screen in the Connectivity module and click on Verify.
- Next, navigate to the API Details screen in the same module.
- Enable the toggle next to WordPress.
- Enter your website’s admin username
- Paste the application password you generated. Next, click on Verify.
- Once your website is connected, you will be directed to the App Preview screen. You can view your website data populated in the app on the emulator screen.
Step 4: Configure the settings of your app
The next step is configuring your app settings. There are various settings you can configure and make the app work based on your preferences.
The settings available to you will differ based on the app builder platform you choose. For your reference, we’ve listed down some of the settings you can manage on AppMySite:
- Menu: Manage your app’s menu. You can make a new menu from scratch or sync a menu from your website.
- Bottom navigation: Create a bottom bar for your app. You can choose the items you wish to show in the app menu.
- Products: Manage the display of your products in the app. In case you don’t have an ecommerce website, this section will be disabled automatically.
- Posts: Manage the display of your app’s post screens. You can choose to show your post screens in either native or webview.
- Pages: Choose whether you wish to show your app’s pages in either native or webview.
- Checkout: Choose how your app’s checkout process works. In case you don’t have an ecommerce website, this section will be disabled automatically.
Step 5: Preview and download your app

To know how your app looks and works, you need to preview it. Most app builders come embedded with emulators. These emulators allow you to preview your entire app in a mobile-like environment.
Based on your assessment, you can go back and make changes to specific elements and screens. You can make as many changes as you like until you’re happy with the preview.
When you’re ready, just press download. AppMySite allows you to download APK and AAB files for Android and an IPA file for iOS. You can submit these files to the app stores and go live.
Why app builders?
Take a look at the process covered in these steps. A total of five easy steps enable you to create an app that’s ready to go live on Google Play and App Store.
This is the beauty of app builders. Instead of spending months dealing with app developers, you can build one using your WordPress website. Furthermore, it doesn’t require a major investment to build an app with an app creator that doesn’t require coding. Most of these tools come with affordable subscription plans.
Additionally, app builders are becoming more powerful. With great functionality available at the click of a button, it is easier than ever to create a powerful app for your website.
In conclusion
App development is not perceived as easily accessible. Hiring an external agency or building a team of developers can be expensive, tedious, and time-consuming.
A simpler way to build mobile apps is by using app builders. I hope this article gives a good insight into just how easily you can transform your WordPress website into a mobile app.

