
You need a website for your project and you want it to be efficient, easy to use, and extendable!? Despite the growing number of all-in-one website-building platforms WordPress still has the edge when it comes to available options and extendibility. With WordPress you can create a simple, fully functioning website at almost no cost, but at the same time, you can also create a super complex website without breaking the bank. WordPress has evolved a lot in the last couple of years. It became not only way more customizable, but also more user-friendly. In this article, we’ll go through the process of setting up a new website and using a modern block (FSE) theme to explore the latest WordPress features. Alright, let’s create a WordPress website!
Choose a Hosting for Your Website
As you probably already know, every website needs to be hosted somewhere, and picking that somewhere is often overlooked although a very important first step. A good reliable hosting that can grow with your website is crucial for the success of your website and as with many other things if you don’t think about it at the beginning it will surely give you headaches later on. To save you time and nerves we created a short list of hosting providers that we tested and found to offer good value for money.
With any of the hosting providers on our list setting up the account and installing WordPress is an easy automated process that takes just a couple of minutes. Even if you encounter some issues during the process simply contact their support and they’ll assist you with it. The quality of support is one of the most important features of good hosting and excellent support was one of the main requirements for selecting hosting providers on our list.
If you already have a website and would want to move it to one of our recommended hosting providers you’ll find that most of them offer free or paid website migration services.
How to Install a Theme in WordPress?
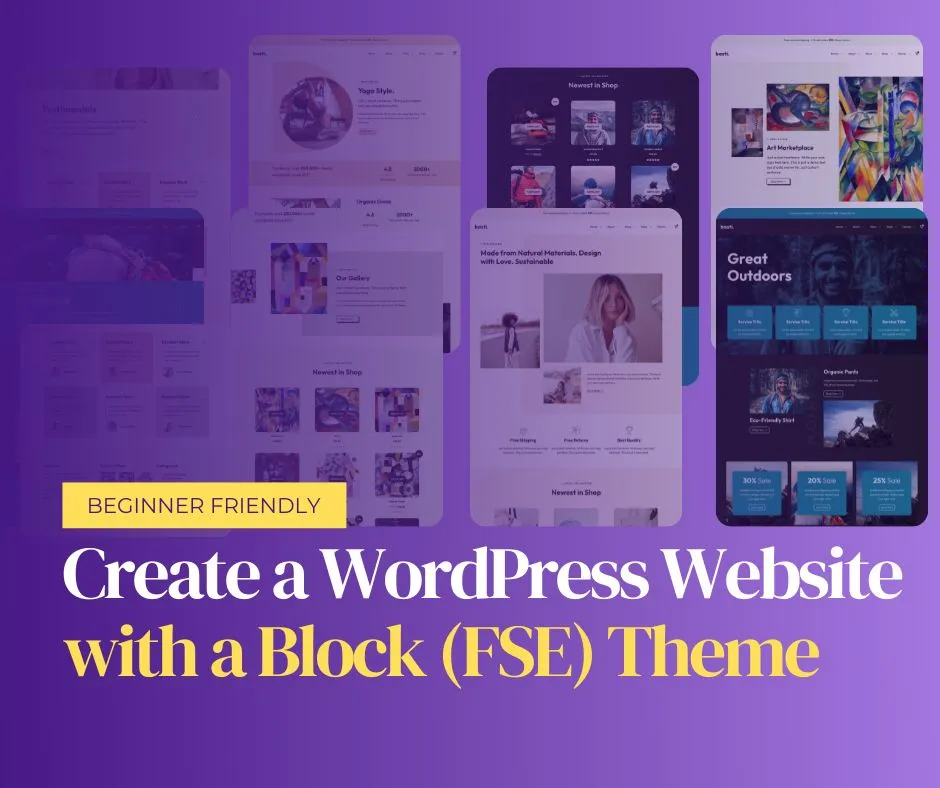
You have set up your hosting, installed WordPress and now you’re ready to start designing your WordPress website. A well-designed WordPress theme is a right tool for this task. Created by a professional designer a theme like Basti brings premade layouts, color schemes, and easy-to-use customization options to help you create a classy-looking website. Let’s see how to install a WordPress theme in a few easy steps.
- Log into your WordPress dashboard – you can access the dashboard either via www.yourwebsite.com/wp-admin or via the hosting dashboard ( with some hosting providers).
- Navigate to Appearance->Themes – on this page you’ll find themes already installed on your installation. If you have a fresh WordPress install it will be just a default theme.
- Now click the Add New button – on this page you can find thousands of themes listed in the WordPress.org repository. These are free themes and if you already know a free theme you’d want to use you can use the search function to find it. Bricksy, for instance, is one of the most popular modern block themes. To install a free theme simply click the Install button.
- To install a premium theme click Upload Theme – if you purchased a premium theme like Basti or Bricksy Pro then you have already received a theme zip file and saved it somewhere on your computer.
- Click Choose File – locate the theme zip file you downloaded to your computer, select it and then click Install Now.
- Once the installation process is finished click Activate.


Import Demo or Start From Scratch?
When your theme is installed you’ll notice that your site looks nothing like the demo you liked so much. It’s just showing a simple “Hello World”. Don’t panic, it’s normal. From here, you have two options; import the demo content to replicate the demo website or start from scratch with your own content.
Importing the demo is a convenient way to jump-start your website. It is especially practical if you’re just starting out and have a fresh WordPress install with no content. You simply import the demo with a few clicks and start replacing the demo content with your own.
If you already have a running website importing demo content might be unnecessary and you’ll probably be better off starting from scratch.
How to Import a Theme Demo?
Demo import process variates from theme to theme. Basti and Bricksy Pro themes both come with a demo import wizard that navigates you through the process. To start the wizard navigate to the Appearance > Basti Info or click the Get Started button.
Here select a theme demo you’d like to import.
Once you click the Import button follow the simple 3 step process to import the demo, as shown in the screenshots below.
How to start from scratch with your own content?
With this method, you won’t be importing demo pages and posts. You’ll be working with your own content from the get-go and creating layouts as you’re adding the content. This involves creating pages and posts, creating layouts with patterns and blocks, setting up headers and footers, and so on.
Regardless if you’ve imported the demo content or not learning how to use blocks and patterns to create layouts will be of great value to you in the long term.
Pages vs Posts
WordPress features two default content types: pages and posts. Pages are “static” types of content and are used for contact pages, about pages, landing pages, and most homepages.
Posts on the other hand are part of WordPress’s blogging functionality and they appear dynamically in reverse-chronological order with newer posts displaying before the older ones. Posts are used for news feeds, blogs, etc.
By default, WordPress displays blog posts on the front page of your website. This can, and often is changed within WordPress settings ( we’ll come to that ), so that a static page can be used for the homepage and the blog page is then assigned to some other page.
Of course, you can also choose not to have a blog page on your site at all.
Create Your Home Page
Let’s start by adding the first page to your WordPress site. If you don’t have any content for that page yet you can always add it later.
From your WordPress dashboard navigate to Pages and click Add New. This will open the page editor screen, which will look like this:
Add a title for your page. As we are going to use that page as a homepage let’s call it Home.
To add content we’ll use one of the page patterns included with the theme. Click below the page title and then click “+” button in the top left corner of the editor to open the block browser.
Head to the Patterns tab, from the drop-down menu select Pages, and click Explore. Select one of the page layouts you prefer and click on it. This will apply the layout to the page. You can now start adding your own content and customizing the layout. You can also leave it as is and come back to it later. To learn more about the block editor check out our WordPress Block Editor-Getting Started Guide.
Once you’re ready click Publish in the top right corner to make the page live on your site.
The last thing we need to do is assign this page to your homepage. To do that you need to go to Settings -> Reading and under the Your Homepage displays select A Static Page option. Click to open the Homepage drop-down and select the page you named Home to assign it. Click Save at the bottom of the page.
If you visit your site you’ll notice that your homepage now displays the content added to the page named Home you created earlier.
Create Your First Post
Now let’s add your first post.
In your WordPress dashboard navigate to Posts. By default, WordPress comes with an example Hello World post which I’d suggest deleting. Once you deleted it click Add New.
What you’ll notice right away is that the editor screen that opens is the same as the one we’ve seen on pages. This also means that all the options available for pages are available for posts as well.
Now you can add a post title and some content like you did on the Home page and click the Publish button to make it visible on your site.
Create Your Blog Page
As we’re going to publish posts on our site now it’s time to create the Blog page. Navigate to Pages -> Add New, name the page Blog and click Publish. As the blog page is dynamic and should display your posts automatically let’s see how to set that up.
There are two ways of doing this.
- The traditional way – just like with the Homepage we navigate to Settings -> Reading and this time from the Posts Page drop-down select the page you named Blog. The layout/design for the blog page created this way is assigned automatically and can be adjusted from the template editor.
- Using Query Loop Block ( recommended ) – this is done directly from the page editor. Open blocks browser by clicking “+” button in the top left corner. Go to the Patterns tab and from the drop-down select Blog Layout. Here you’ll see available blog layout patterns. Click Explore to extend the view. Find the layout you prefer and click on it. It will automatically be applied to the page.
If you preview the blog page now you’ll only see the one post you created, but as you add more posts they will automatically appear on this page.
When using the traditional way you’ll see posts listed only on the front end, they won’t be visible in the page editor. With the second method, posts will be visible both in the editor and on the front end.
I’d recommend using the second method as it’s easier to use and customize. In another post, we’ll cover the most useful features and settings of the query loop block.
Create a Navigation Menu
After we created a homepage, blog page, and at least one post it is time to create a navigation menu to make it all accessible from the front end.
In Block (FSE) themes like Basti or Bricksy Pro, headers are built with blocks. That also means that headers can be customized in many ways not possible before. We cover most of the basics here. For more detailed header guide please check this article.
Let’s start by going to Appearance -> Editor (Beta).
The page that opened is the new Site Editor which enables us to, among other things, set up and customize headers and footers.
On the page find the Navigate button and double-click on it. A small menu will open and there select Start Empty. If you’d have some navigation menus set up already you’d see the Select Menu option which you could then use to select the menu.
Now click on the “+” and in the search field type in the name of the page you want to add. In this case Blog. Once the Blog page is listed click on it and it will be added to the menu. Click Save.
Visit your homepage and you’ll see the menu with a Blog item in it.
In the same way, you added the Blog page to the menu you’ll be adding any future pages you create.
Add a Logo or a Site Title to Your Website
The main structure of your website is now almost finished. In the last step, we added navigation to the header. As we’re already working on a header let’s add your site logo and/or a title.
Head to Appearance -> Editor.
In the Basti theme, the default Header shows the Top Banner, Logo, and Site title on the left and the Navigation and Cart icon on the right. When you click in the Header area you see the Toolbar with the option to replace the default Header. For now, we’ll use the default header.
To edit the Site Title simply click the title and add your text to it. Using the block settings you can also change the font weight, size, letter case, and color of your Site Title.
If you want to add a logo just click on the image icon on the left side and an upload button will appear. Click on it and upload a logo image from your computer. In the logo block toolbar and settings ( sidebar ), you’ll also find alignment and styling options for the logo.
Edit Footer
Just like headers, in block FSE themes, footers are built with blocks as well.
From the same Site Editor page ( Appearance-> Editor ), you used to create navigation and edit header, you can also edit the footer of your site. Scroll down the page to the footer section and you’ll find some default footer content.
Click to select the footer section. The toolbar will show up and you’ll be able to select a different footer layout by clicking the Replace button.
If you like the default layout you can start editing the content by simply clicking on the element you want to edit. For each element, there are styling options available from the toolbar and the block settings sidebar.
Once you’re ready make sure to Save your changes. To exit the editor click the WordPress logo in the top left corner and then click Dashboard.
Expand Your Website’s Functionality
The fundamentals of your website are now set and you can proceed by adding the posts and pages required for your project.
Besides the additional content, to create a WordPress website that’ll serve you well for the years to come, you’ll probably want to extend the functionality of your website by adding e.g. a contact form, social sharing, newsletter signup, shop, membership, security, etc. This is a plugin territory and, depending on your site’s requirements, it will require a bit of research to find the right plugin for the task.
Plugins can easily be installed from the WordPress dashboard by navigating to Plugins->Add New. Similar to the themes, there is a directory of free plugins and premium plugins are installed by uploading the plugin’s zip file.
I often see websites running too many plugins, some of which with overlapping functionalities and some doing nothing at all. My general recommendation would be to install and use only the plugins you can’t live without and remove all else. This will make your site faster and more secure.
Summary
Full site editing and block editor are the future of WordPress and themes. It makes WordPress more powerful, user-friendly, and customizable than ever before. I hope this guide brought a good overview of how this works with modern Block and FSE themes like Basti or Bricksy Pro. As with anything new, it might take a bit of time to get used to all the new features, but I’m sure the time invested into learning the ins and outs of it is well worth it. Have a great day.