Header & Menu
The header area consists of a Logo, Site Title and Tagline, header image (optional), navigation Menu and a search bar. The whole area can be laid out in a couple of different ways and painted in different colors.
Site title and tagline
To add site title and/or tagline navigate to Appearance » Customize » Site Identity.
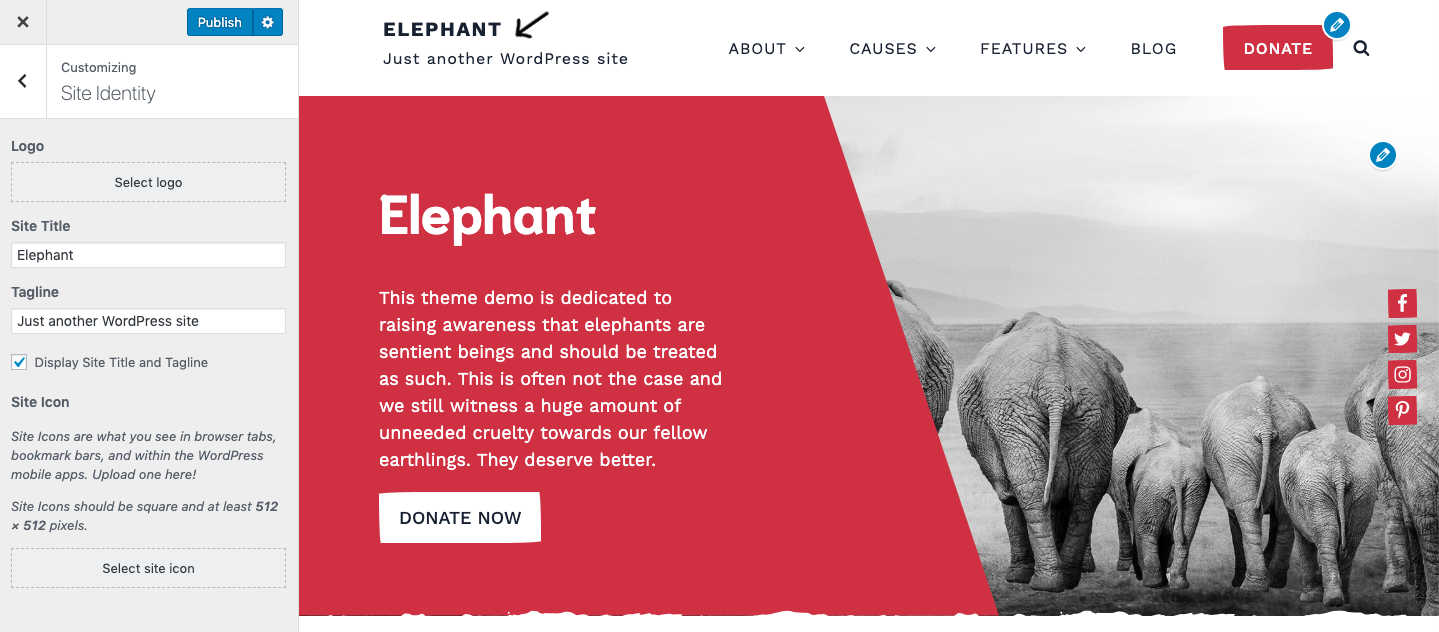
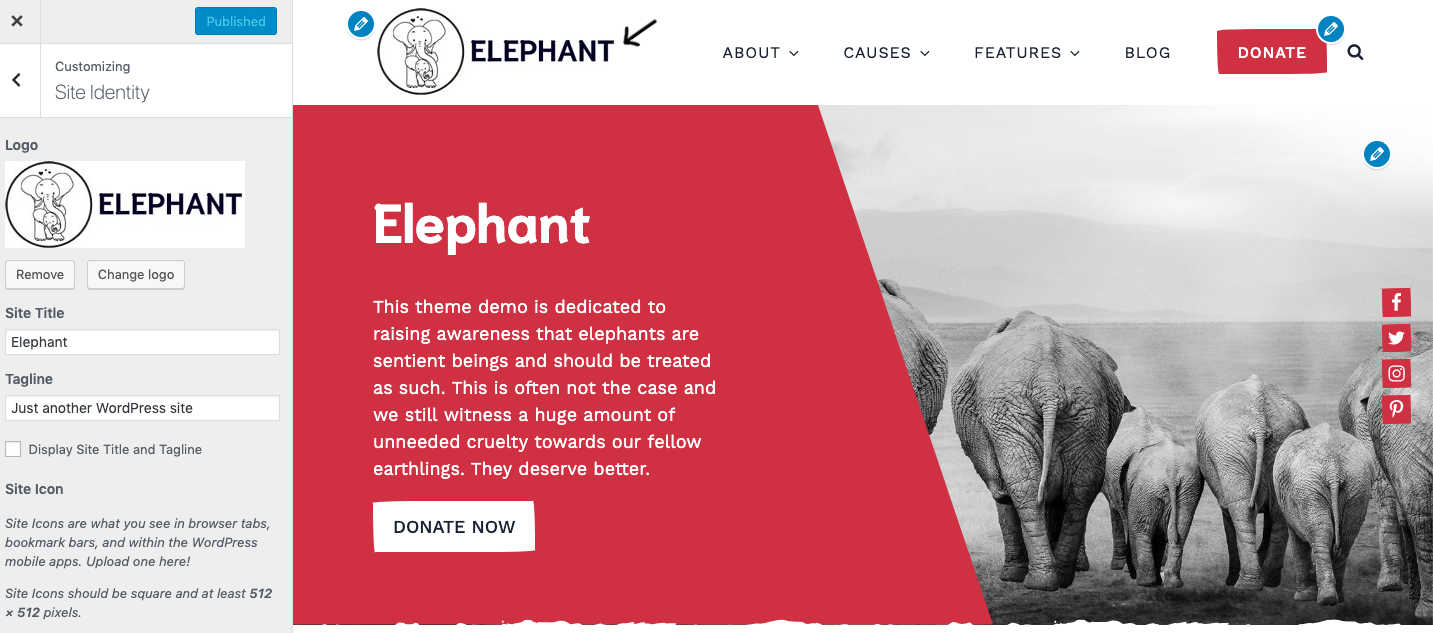
Logo
To add a logo navigate to the Appearance » Customize » Site Identity and click "Select logo". We recommend to prepare the logo image before uploading and then selecting "Skip Cropping" when adding the logo. The logo image size we used in the demo is "247x87px".
In the same section your can add the "Site Icon" image that will display in browser tabs and bookmark bars.
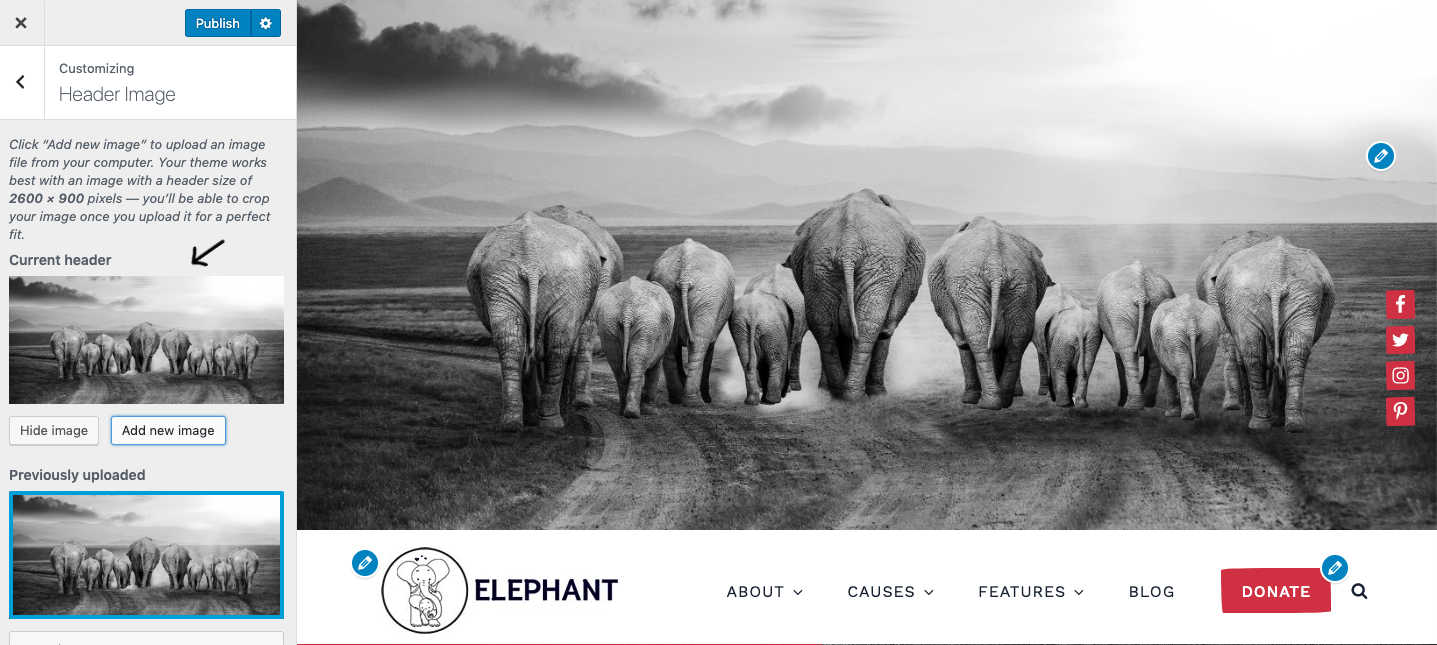
Header Image
To add the header image navigate to Appearance » Customize » Header Image. The header image will display above the navigation menu on all pages on your website. Recommended size for the header image is 2600x900px. Don't confuse the header image with the "Hero Image". Hero image is displayed only on the homepage and below the menu. To set the "Hero Image" check the "Homepage" section guide.
**the header image was not used in the demo.
Menu
To create a menu we recommend creating at least a couple of pages with content first!
Navigate to the Customize » Menus and click "Create New Menu". You can name it however you like. In theme demo we named it "Primary Menu".
To make this your main navigation menu, in Theme Locations check Top Menu box and save it.
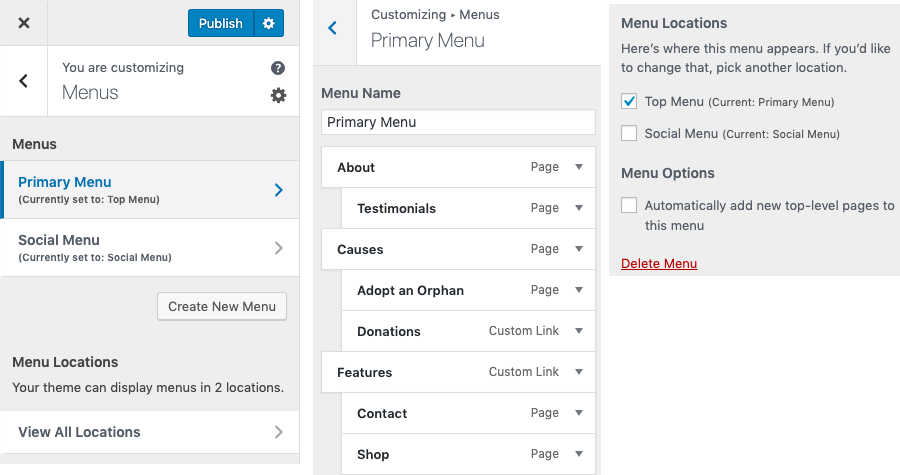
If you imported the theme demo content then the "Primary Menu" will already be set up with the demo pages and also set as a main navigation menu. You can then either edit it, as you add your own pages, or create a new menu as described above.
Color Menu Button
To create a colored menu button like the "Donate" button we have in the demo, navigate to the Appearance » Menu and add the CSS class "color" for that menu item. To adjust the color of the button go to Customize>>Color Options.
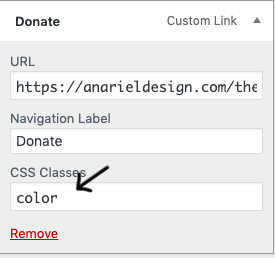
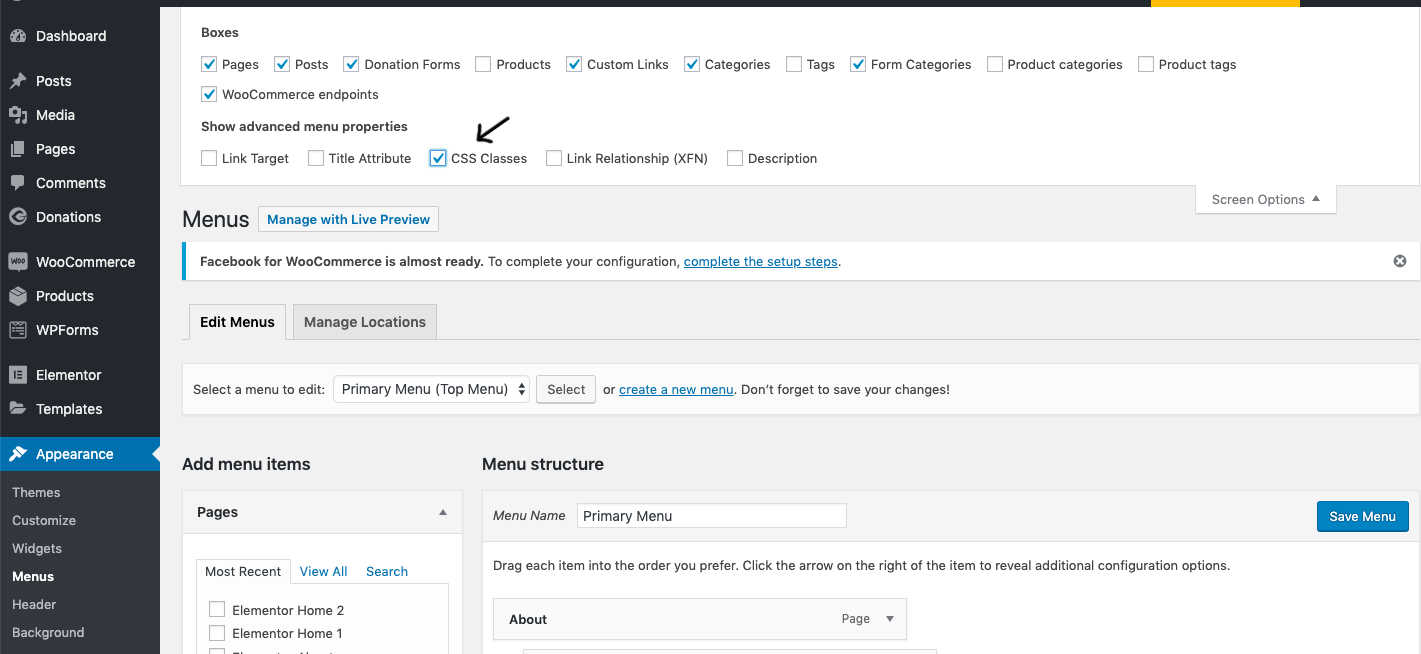
*If you don't see that "CSS Classes (optional)" field for your menu items, then you need to enable it by going to Appearance » Menu and find "Screen Options" tab at the top right of the Menu page and there tick the "CSS Classes" box. Than navigate back to the Customize » Menus and open menu that you created before and add the class to the menu item.
Search Bar
Search bar is enabled by default and the icon is displayed on the right side of the navigation menu. It can be enabled/disabled indipendently for desktop and mobile devices by going to Customize>>Layout Options>>Header & Menu. Its color can be adjusted by going to Customize>>Color Options
The search icon will also change position depending on the header & menu layout option selected. Check the next section for more information.
Header & Menu Layout Options
Elephant theme comes with a variety of header layout options. You can make your header part sticky, choose between transparent and solid background, change the menu position, adjust menu item space and disable or enable search feature. These options can be adjusted separately for desktop and mobile view.
To access these options navigate to the Customize » Layout Options » Header & Menu.
Header & Menu Color Options
Besides layout options there is a number of color options for the header area. To access those navigate to the Customize » Color Options. Colors are also separately available for desktop and mobile.
Here is a little description of each section:
- Desktop Solid Header - change colors if you selected the "solid background" option for the desktop layout in "Header & Menu" section
- Desktop Transparent Header - change colors if you selected the "transparent background" option for the desktop layout in "Header & Menu" section
- Desktop Search - change colors of the search icon and search field
- Mobile Header - change colors of the header on mobiles
- Mobile Search - change colors of the search on mobiles
Social Menu Bar
Social menu floating bar is not a part of the header but it is built using standard WordPress menu. Navigate to the Customize » Menus and create a new menu. You can name it however you like. In theme demo we named it "Social Menu"
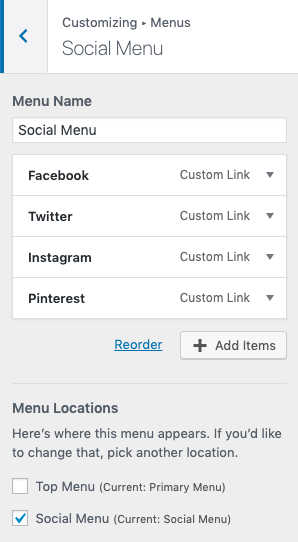
To make this your social menu, in Theme Locations check Social Menu box and save it.
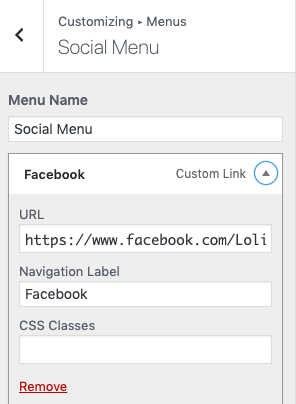
To add socials to the social menu first you need to add Custom Links to the menu. Then inside the "URL" field add your social page url and in the "Link Text" field add the name of the social, for example "Facebook". Once you added it to the menu, social icon will automatically show up inside the socials bar. Once you are finished adding all your socials click "Save Menu".
**Below you can find a list of supported social networks. If you add a network or a website URL that is not listed below then a generic icon will be applied to it in the social menu bar.
Available icons
Linking to any of the following sites will automatically display the correct icon in your menu.
- Codepen
- Digg
- Dribbble
- Flickr
- GitHub
- Google+
- RSS Feed (urls with
/feed/) - Tumblr
- Vimeo
- WordPress
- YouTube
Find more about setting up the menu here: WordPress Menu User Guide